How to Crochet in the Round (Magic Ring, Chain Method & Common Mistakes)

Two ways to start any round project — the magic ring and the chain method — plus how to keep your circle flat, mark rounds, and fix the classic 'spiral seam' issue.

13 min read Updated July 23, 2026 By Mira Holloway
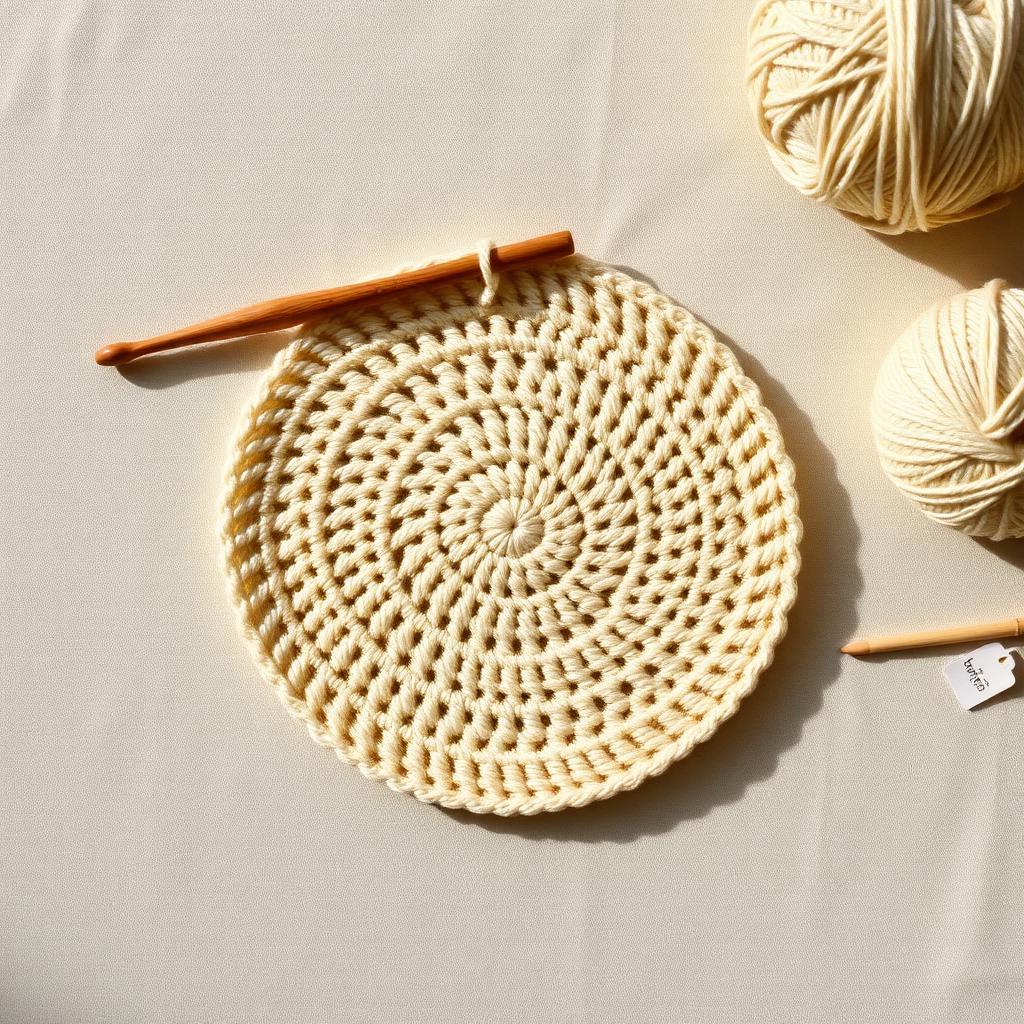
Cream flat crochet circle in double crochet on a linen surface with a wooden hook and cotton yarn balls
Materials
  • Worsted-weight cotton or acrylic yarn — one skein is plenty for practice
  • 5.5 mm (US I/9) crochet hook
  • Stitch marker (a scrap of contrasting yarn or a locking marker)
  • Tapestry needle
Crochet abbreviations
  • chchain
  • sl stslip stitch
  • scsingle crochet
  • dcdouble crochet
  • MRmagic ring
  • incincrease (2 sts in same stitch)

Working in the round is what separates flat rectangles from hats, baskets, amigurumi, doilies and the top of every granny square. It's not harder than working in rows — it just uses two techniques beginners rarely encounter first: how to start a circle, and how to keep it flat.

This guide covers both starting methods, the flat-circle math that makes your circle actually lie flat, and the three mistakes that cause almost every 'my circle looks wrong' question we get.

Method 1: The magic ring (magic circle)

The magic ring gives you a completely closed center with no visible hole. Every amigurumi pattern assumes you know how to make one.

  1. Drape the yarn over your palm and cross the tail behind the working yarn to make a loop.
  2. Insert your hook into the loop, yarn over, and pull up a loop.
  3. Chain 1 (this does not count as a stitch).
  4. Work your starting stitches into the ring — usually 6 sc for amigurumi, or 12 dc for a flat circle.
  5. Pull the tail firmly to cinch the ring closed.
  6. Join with a slip stitch to the first stitch (unless working in a continuous spiral).
Beginner note
The magic ring feels awkward the first three times you make one. By the fifth, it will be muscle memory. Watch a 60-second video if the written steps don't click — this technique is genuinely easier to see than to read.

Method 2: The chain method

Simpler to learn, but leaves a small hole in the center. Great for coasters, doilies and anything where a visible hole is fine (or even decorative).

  1. Chain 4 (for a small circle) or chain 6 (for a larger one).
  2. Slip stitch into the first chain to form a ring.
  3. Chain 1 (or the height of your starting stitch), then work your starting stitches into the ring — not into individual chains.
  4. Join with a slip stitch to the first stitch to close the round.

The flat-circle formula

A flat circle stays flat only if you add the same number of increases to every round. The number depends on the stitch height:

  • Single crochet: start with 6, increase by 6 each round (6, 12, 18, 24, 30…).
  • Half double crochet: start with 8, increase by 8 each round.
  • Double crochet: start with 12, increase by 12 each round.
  • Treble crochet: start with 16, increase by 16 each round.

Distribute the increases evenly. In round 2, work an increase in every stitch. In round 3, alternate 'increase, 1 stitch.' In round 4, 'increase, 2 stitches.' And so on — the plain stitches between increases grow by one each round.

Spiral vs. joined rounds

Amigurumi is almost always worked in a continuous spiral — you never join, you just keep going. This eliminates the visible seam that ruins the illusion of a smooth sphere.

Hats, doilies, baskets and blankets made in the round usually join with a slip stitch at the end of each round. The join creates a small vertical seam — hide it at the back of a hat, or offset it with a chain-1 turning at the start of each round for a cleaner look.

How to fix the spiral 'jog'

When you join rounds with a slip stitch, the color change on stripes creates a visible step (the 'jog'). Two fixes: work an invisible join at the end of the previous color, or offset the first stitch of the new color by slip-stitching into it before starting. Both take one round of practice.
Project tips from the studio

  • Place your stitch marker in the first stitch of every round. Move it up as you go — this alone prevents 80% of round-counting mistakes.
  • For amigurumi, work in a spiral (do not join). For flat circles or hats, join with a slip stitch at the end of each round for a clean edge.
  • If your circle ruffles, you're increasing too fast. If it cups, you're not increasing enough. The flat-circle formula fixes both.

Troubleshooting

The center hole is too big.
Switch from the chain method to a magic ring. A magic ring cinches closed and leaves no visible hole.
My circle looks like a bowl (cups up).
Add more increases. For single crochet, each round should have 6 more stitches than the previous one; for double crochet, 12 more.
My circle ruffles at the edges.
You're increasing too aggressively. Stick to the flat-circle formula for your stitch height instead of adding extras 'just in case.'
I keep losing count of rounds.
Use a stitch marker in stitch one of every round, and jot round numbers on a sticky note as you finish each one.

Frequently asked questions

Which is better, the magic ring or the chain method?+

The magic ring is better whenever a closed center matters — amigurumi, stuffed toys, anything you don't want to see through. The chain method is fine for coasters, doilies, and pieces where a small hole is invisible in the finished project.

Why is my crochet circle not flat?+

You're not using the flat-circle formula for your stitch height. For single crochet, add 6 stitches per round; for double crochet, add 12. Uneven or missing increases make the circle cup, and too many make it ruffle.

Do I turn my work when crocheting in the round?+

Usually no. Most in-the-round projects are worked with the right side always facing you. Turning gives a slightly different texture and is used intentionally in some patterns, but it's not the default.

How do I count rounds when working in a spiral?+

Place a stitch marker in the first stitch of the round and move it up each time. Count from the center out, or keep a simple tally on paper — trying to count later by looking at the fabric almost never works.

Can I make a magic ring with slippery yarn?+

It's harder — cotton and slick acrylics loosen easily. Cinch the tail extra tight, weave the tail in twice, and consider a dab of fabric glue on the knot for stuffed toys that get handled.

Sources & content review
This article was written by our editorial team and reviewed against our editorial policy. All techniques are tested in our studio, and craft-terminology definitions cross-checked against the Craft Yarn Council standard yarn weight system and CGOA glossary.