Crochet BlanketsBeginner
Easy Granny Square Blanket Pattern for Beginners
A relaxed, forgiving granny-square blanket you can start today. Full pattern, materials, joining method, and honest tips from stitching this design a dozen times.
A relaxed, forgiving granny-square blanket you can start today. Full pattern, materials, joining method, and honest tips from stitching this design a dozen times.
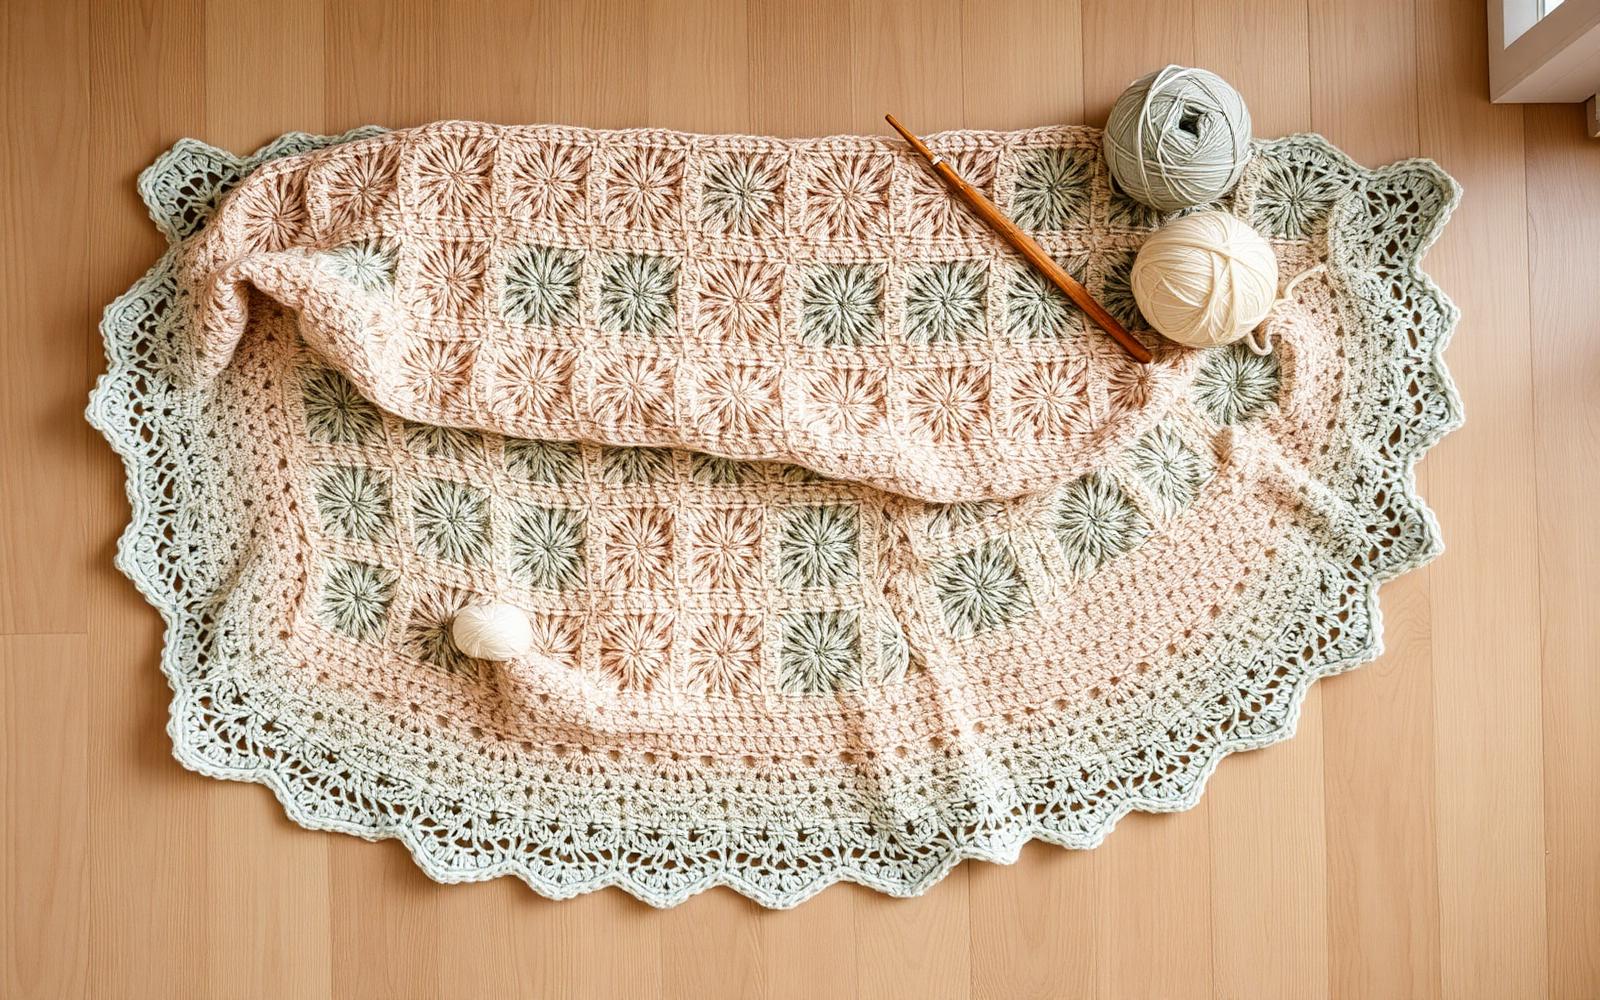
The granny square blanket is the project that turns a lot of new crocheters into lifelong crocheters. It's mostly the same six stitches over and over, it uses up leftover yarn beautifully, and every square you finish looks like a small win. This pattern is the one I hand new students first — 42 squares, five rounds each, in whatever palette you love.
This post walks through the exact pattern I've made twelve times over the last four years — including the version currently on my couch. You'll find a materials list, a written pattern, joining instructions, care notes, and troubleshooting for the mistakes I've watched (and made) most often.
This is a true beginner project. If you can crochet a chain and a double crochet stitch, you can make a granny square. If you're brand new, spend fifteen minutes with our Crochet Stitch Guide for Beginners first — that's the only prerequisite. There is no advanced shaping, no colorwork chart, and no gauge to match.
The finished blanket in the photos is 45 × 54 inches — a generous lap size, or a full crib coverlet. It uses six colors: two neutrals (cream and oat), two soft accents (sage and dusty rose), a warm terracotta and a smoky blue. Feel free to reduce that to three colors if the palette feels overwhelming; two-color grannies are just as classic.
A blanket lives on your couch for years, so it's worth using yarn you'll be happy to touch. My go-to for granny-square blankets is a 100% pima cotton or a cotton-linen blend in worsted weight. It blocks well, feels lovely after washing, and doesn't pill the way acrylics do. Wool worsted is beautiful too, but skip it if your household has wool sensitivities.
Each finished granny square blocks to roughly 7 inches (18 cm) square. Six squares across × seven squares tall = 42 squares total, which gives a finished blanket of about 45 × 54 inches after a light wet block. If your squares come out smaller, you have two easy fixes: go up one hook size, or add a sixth round of just double crochet all the way around each square before joining.
The written pattern uses standard US crochet terms. If you're a UK reader, swap every double crochet (dc) for a treble crochet (tr).
That's the entire square. After Round 5 you'll have a 7-inch (unblocked) granny that feels a little floppy — blocking fixes that.
Blocking is where a granny square blanket goes from homemade to handmade. Fill a sink with cool water and a drop of gentle wool wash. Submerge the squares, let them soak for 15 minutes, then gently squeeze (never wring) the water out. Roll them in a towel, walk on the towel, and pin each square to your blocking mat, tugging the corners until it's a true square. Leave them 24 hours to dry.
There are three good ways to join granny squares — whip stitching, mattress stitching, and join-as-you-go. For a beginner, join-as-you-go on the last round gives the softest seam and lets you skip a separate joining step. Here's the abbreviated version: on the final round of each new square, when you reach a point that meets an already-joined square, ch 1 becomes a sl st into the corresponding ch-1 sp on the neighboring square. Corners meet corners with a sl st through both ch-2 spaces.
If that sounds confusing on first read, don't worry — most people click by the fifth join. I highly recommend joining two practice squares before you commit to a full blanket layout.
A simple two-round border makes an enormous visual difference. Round 1: single crochet evenly around the whole blanket, working 3 sc into each outer corner. Round 2: reverse single crochet (also called the crab stitch) for a subtle rope-like edge. Fasten off, weave in your last ends, and give the whole blanket one final light block.
Cotton blankets can be machine washed on cold, gentle cycle, and tumble dried on low or laid flat. Wool blends should be hand washed only, dried flat, and never wrung out. Store your finished blanket folded loosely in a linen bag or on an open shelf — plastic traps moisture and encourages mildew.
Each square takes an experienced crocheter about 20–25 minutes; a new crocheter should plan on 35–45 minutes per square. For 42 squares plus blocking and joining, budget 25–30 hours of active work. Most makers finish this blanket in six to eight weeks working an hour or two most evenings.
Absolutely. Acrylic is soft, washable, budget-friendly and forgiving for a first project. The trade-offs: acrylic doesn't block as dramatically as cotton or wool, and it can pill after heavy use. If you're gifting the blanket to a baby, choose an OEKO-TEX-certified acrylic and machine wash before delivering.
This 45 × 54 inch pattern uses about 1,400 yards of worsted-weight yarn. If you're changing size, a good rule of thumb is 30–35 yards per finished 7-inch square, plus 150 yards for the border.
This is the most common beginner issue and almost always fixes itself with wet blocking. If a square is stubbornly small, gently stretch it while pinning; if it's too large, pin less aggressively. As long as tension is consistent within each square, blocking evens out most variation.
Yes — chain 4 and slip stitch into the first chain to form a small ring, then work Round 1 into that ring. The center hole will be slightly larger but the finished square looks identical.
The written pattern is free to save and print for personal use. Please don't republish the full pattern text on other sites — a link back to this page is always welcome. Finished items may be sold at a small scale; large-scale commercial production requires written permission.
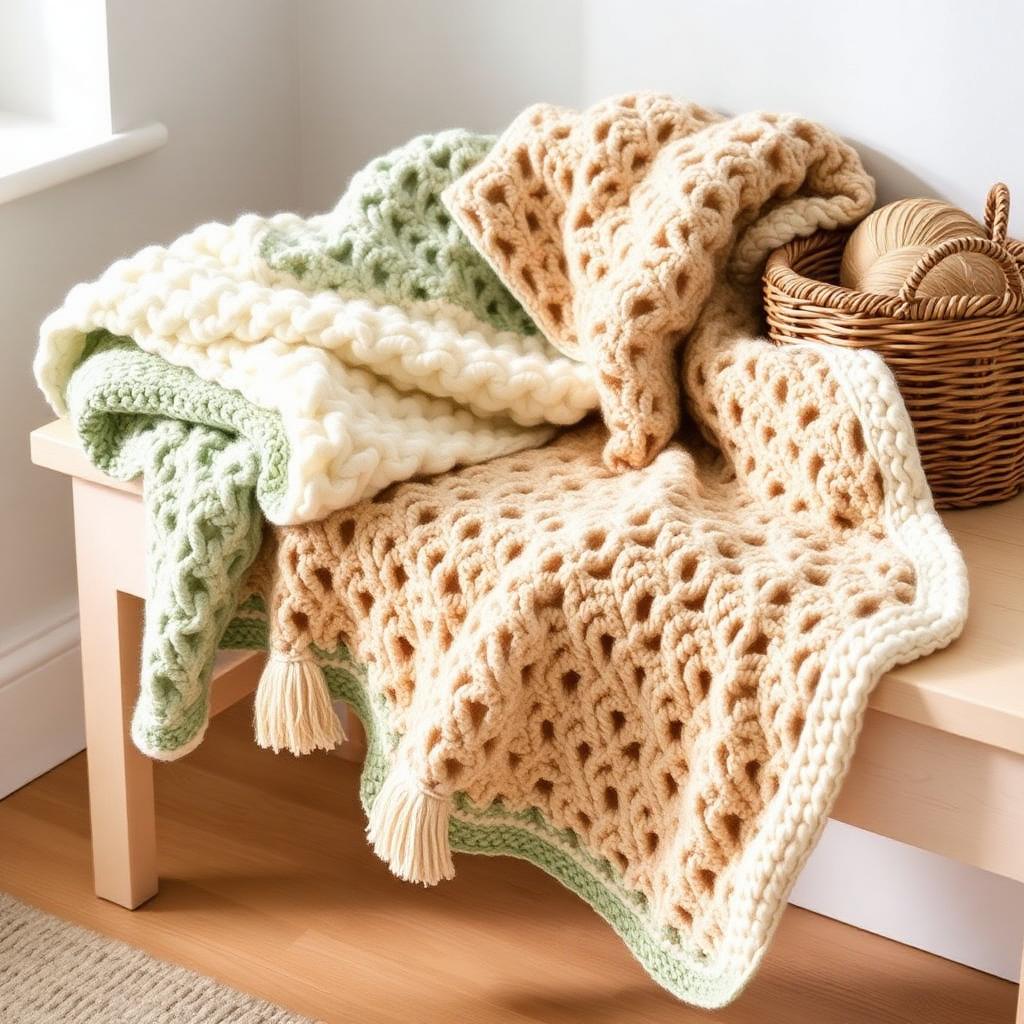
A weekend-friendly chunky C2C throw with clear diagonal-row instructions, yarn requirements, and the increase/decrease turning rules that trip up first-time C2C crocheters.
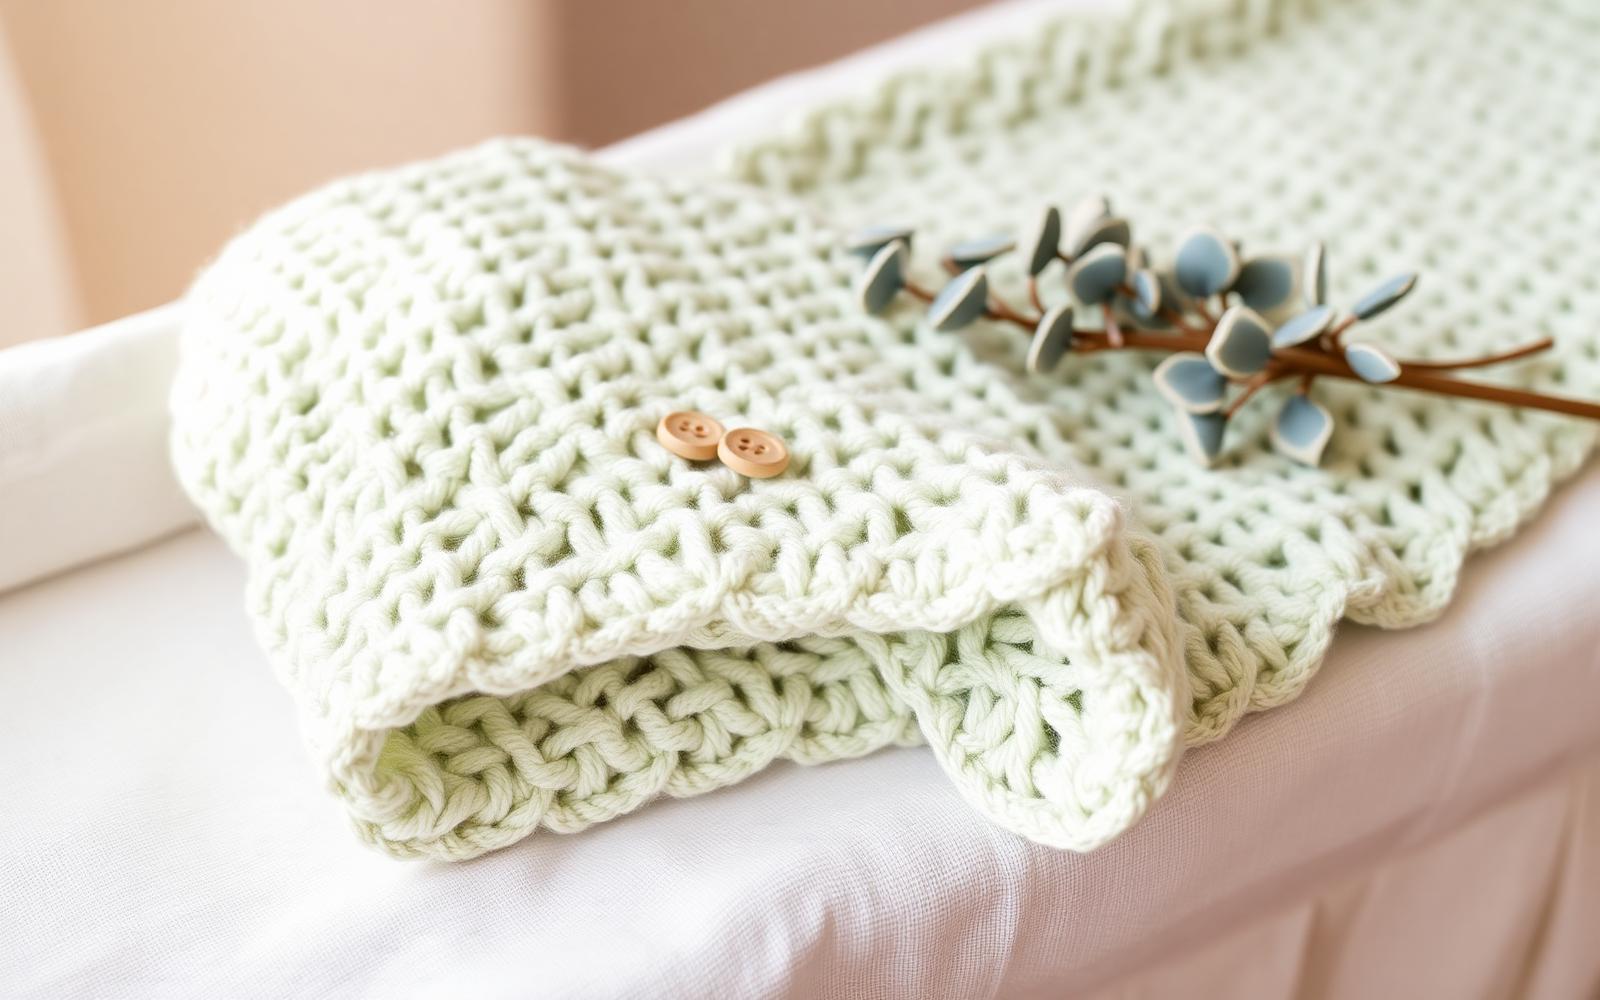
A soft, drapey shell-stitch baby blanket that works up in a weekend. Full written pattern, size chart, yarn recommendations, and the shell-stitch fix everyone gets wrong on Row 2.
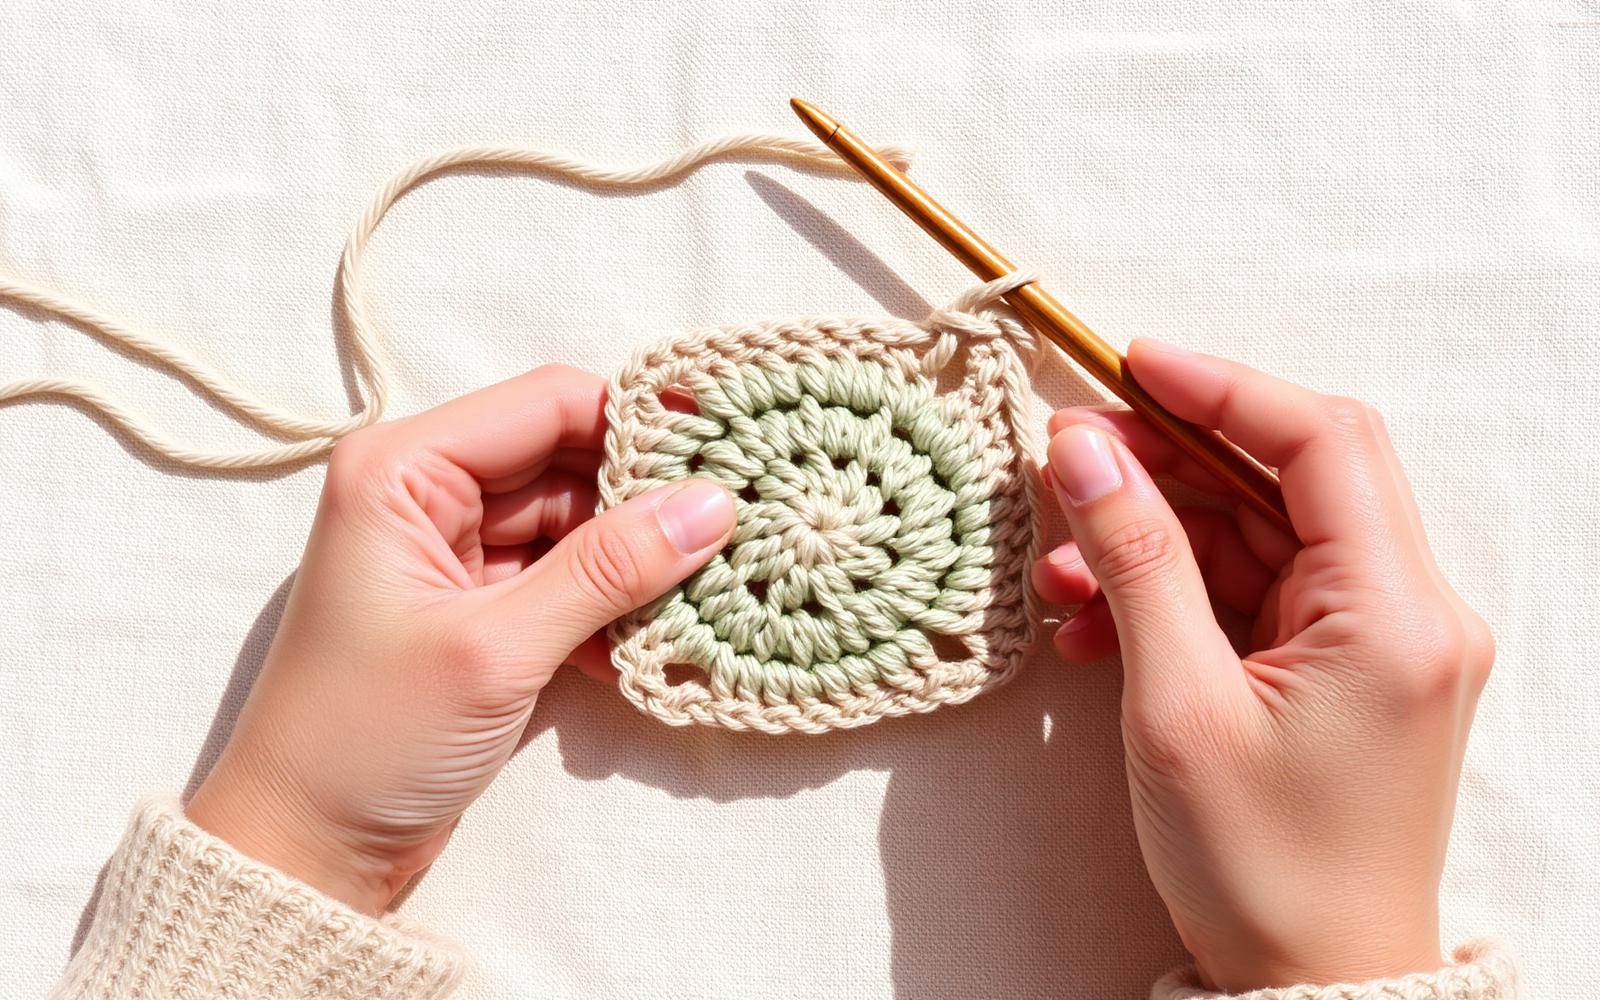
The single most useful motif in crochet, explained clearly with abbreviations, photos of every round, and the two beginner mistakes to avoid.