DIY CraftsBeginner
Handmade Macramé Plant Hanger (Beginner Knots Only)
A boho macramé plant hanger you can make in an afternoon using only three knots: lark's head, square knot, and half hitch. Full measurements for a 4-inch pot.
A boho macramé plant hanger you can make in an afternoon using only three knots: lark's head, square knot, and half hitch. Full measurements for a 4-inch pot.
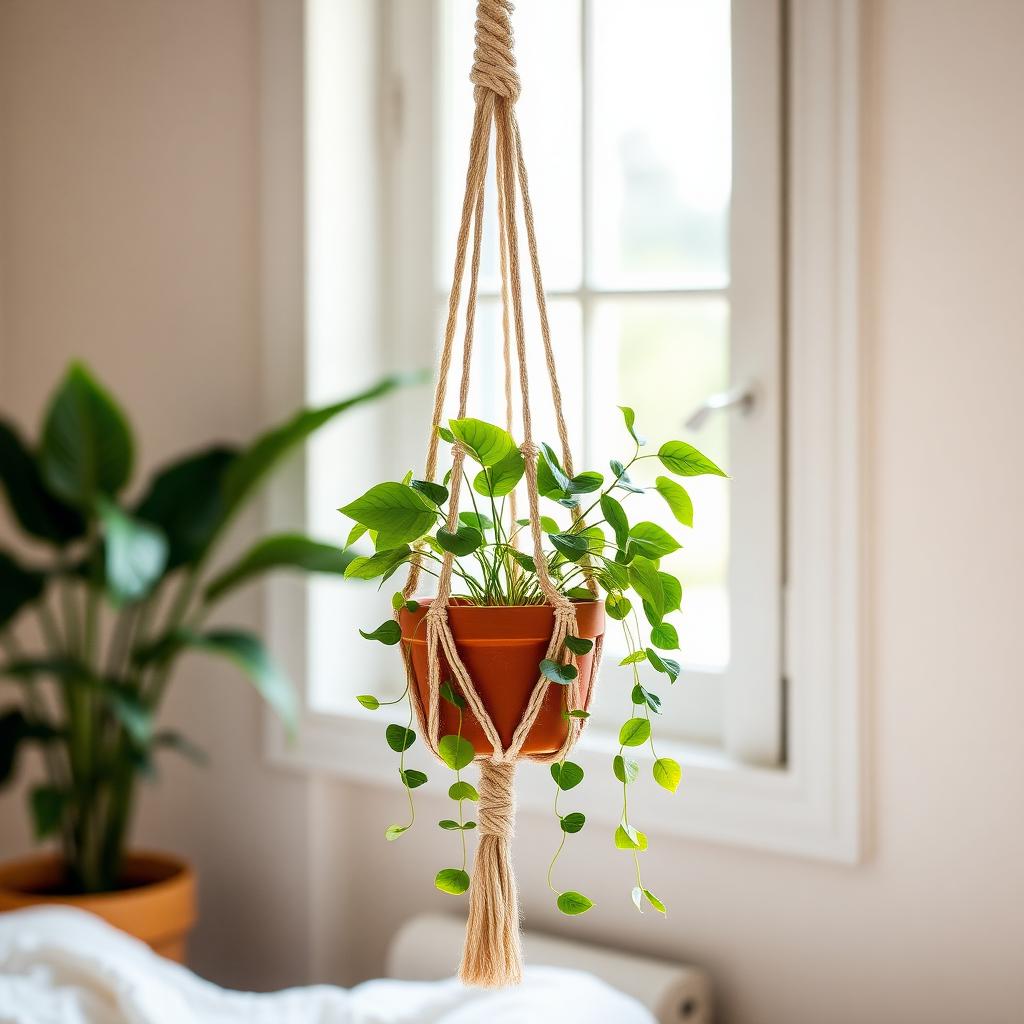
Macramé looks intricate. Almost every hanger in every boho photo you've saved uses just three knots: lark's head, square knot, and half hitch. Learn those three and you can build any hanger — this pattern is the classic four-cord version for a 4-inch pot.
Cut 8 lengths of cord, each 4.5 yards long. This gives generous length for knotting and a full tassel at the bottom.
Fold one cord in half. Lay the folded loop over the top of the ring. Pull the two loose ends up through the loop and pull snug. That's a lark's head knot — repeat with all 8 cords. You now have 16 working strands hanging from the ring.
Divide the 16 strands into 4 groups of 4. Each group makes an identical vertical column of square knots.
To make a square knot: with your 4 strands laid flat, take the LEFT cord over the middle two and under the right cord. Bring the RIGHT cord under the middle two and up through the loop the left cord made. Pull snug — that's a half-square knot.
For a full square knot, mirror the process: take the RIGHT cord over the middle two and under the left cord, then the LEFT cord under the middle two and up through the right cord's loop. Pull snug. One full square knot is complete.
Work 4 square knots in a row on each of your 4 groups. You now have four vertical 'columns' hanging from the ring.
Leave 4 inches of unknotted cord below your first section. Then create the basket that holds the pot by knotting across groups: take the 2 rightmost cords from one column and the 2 leftmost cords from the next column, and tie a square knot with those 4 cords.
Do this all the way around, creating a diamond-lattice pattern. Leave another 3 inches of space and repeat one more round of alternating knots — this creates two horizontal knot bands that will cradle the pot.
Gather all 16 strands together about 4 inches below your last knot band. Take a separate 12-inch piece of cord, form a loop, and wrap it tightly around the bundle 6–8 times. Tuck the ends through the top loop and pull the bottom of the loop to hide them inside the wrap. This is the gathering knot — the anchor of the whole design.
Trim the loose ends below the gathering knot to your desired tassel length (usually 6–10 inches). For a fluffy fringe, unravel the cord ply with your fingers or a comb — 3-ply cotton fringes beautifully; single-strand stays smooth.
Nest a 4-inch terracotta or ceramic pot into the basket. Adjust the basket knots so they cradle the pot symmetrically. Hang by the top ring from a ceiling hook rated for at least 15 pounds — plant + wet soil is heavier than it looks.
3-mm natural cotton macramé cord. It knots crisply, holds shape, and fringes beautifully at the bottom. Jute is too rough on hands and looks rustic rather than boho; nylon is too slick and knots slip.
Two to three hours once you know the knots. First attempts take longer because you're learning the technique — plan a whole afternoon for your first one.
This 4-strand basic pattern comfortably holds a 4-inch pot. For a 6-inch pot, cut cords 6 yards long and add a third knot band; for an 8-inch pot, use 12 strands (24 cord ends) instead of 8.
3-mm cotton cord holds up to 10 pounds comfortably when knotted correctly. That's plenty for a 4- or 6-inch pot with soil and a well-watered plant. For larger pots, upgrade to 5-mm cord.
Yes — remove the pot, place the hanger in a mesh laundry bag, and wash cold on delicate. Reshape while damp and air-dry. Do not tumble dry, which will shrink and fuzz the cord.
Ten small, satisfying DIY projects you can finish in an afternoon — using materials you probably already have, with real photos and honest time estimates.
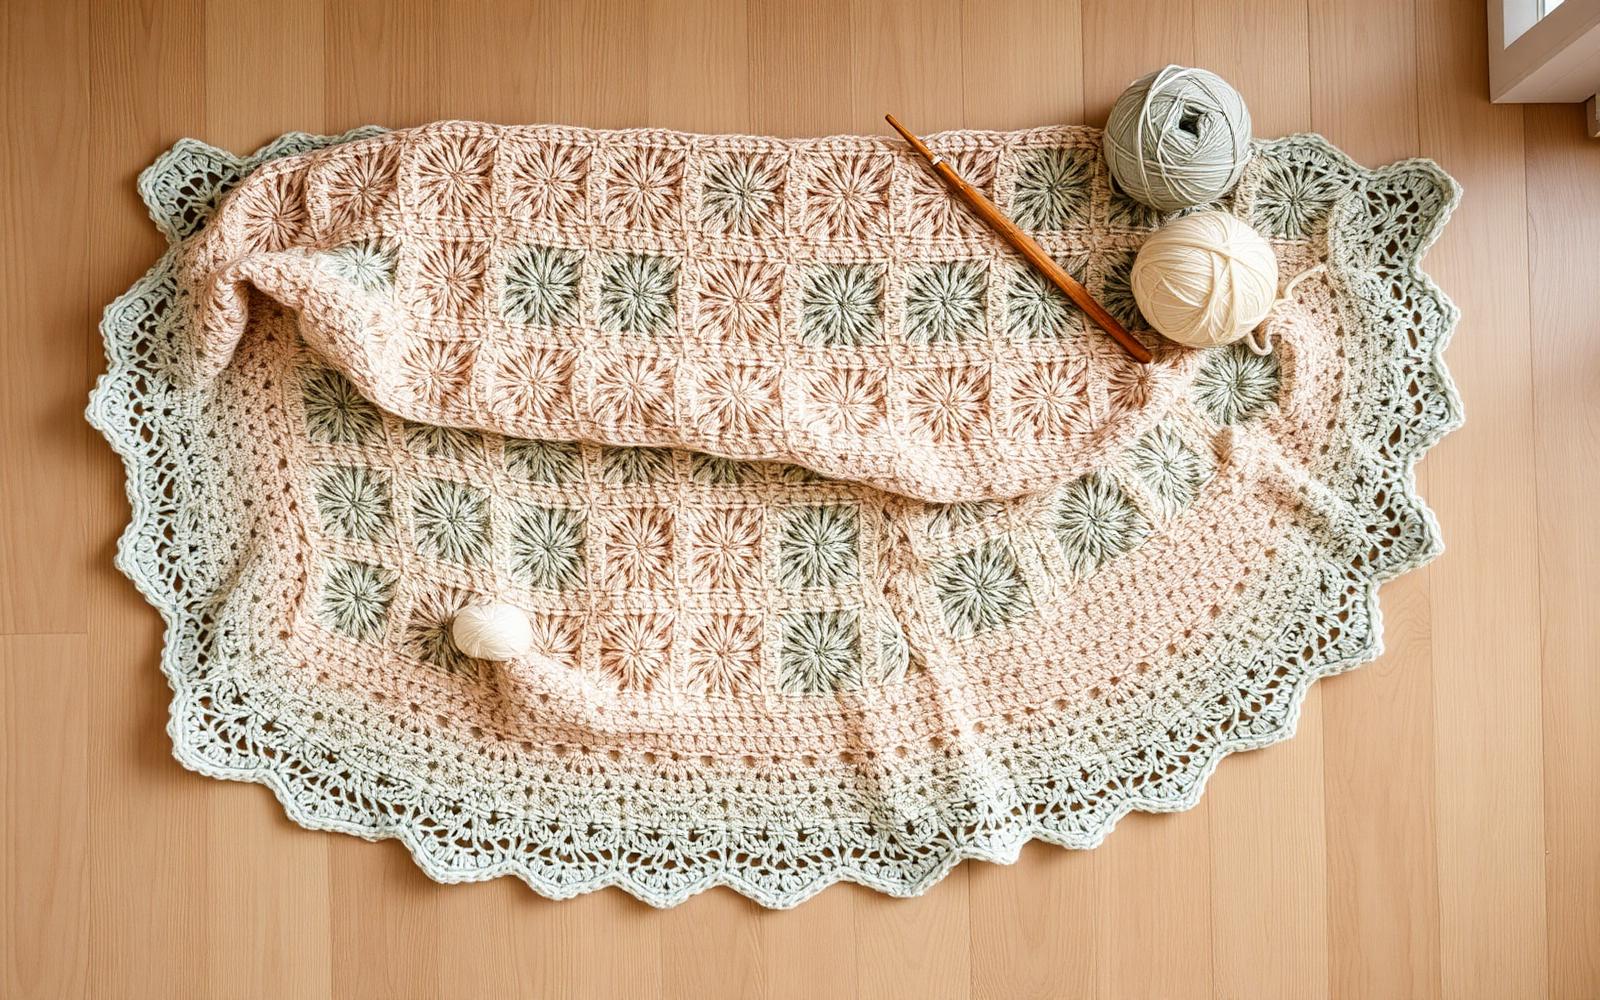
A relaxed, forgiving granny-square blanket you can start today. Full pattern, materials, joining method, and honest tips from stitching this design a dozen times.
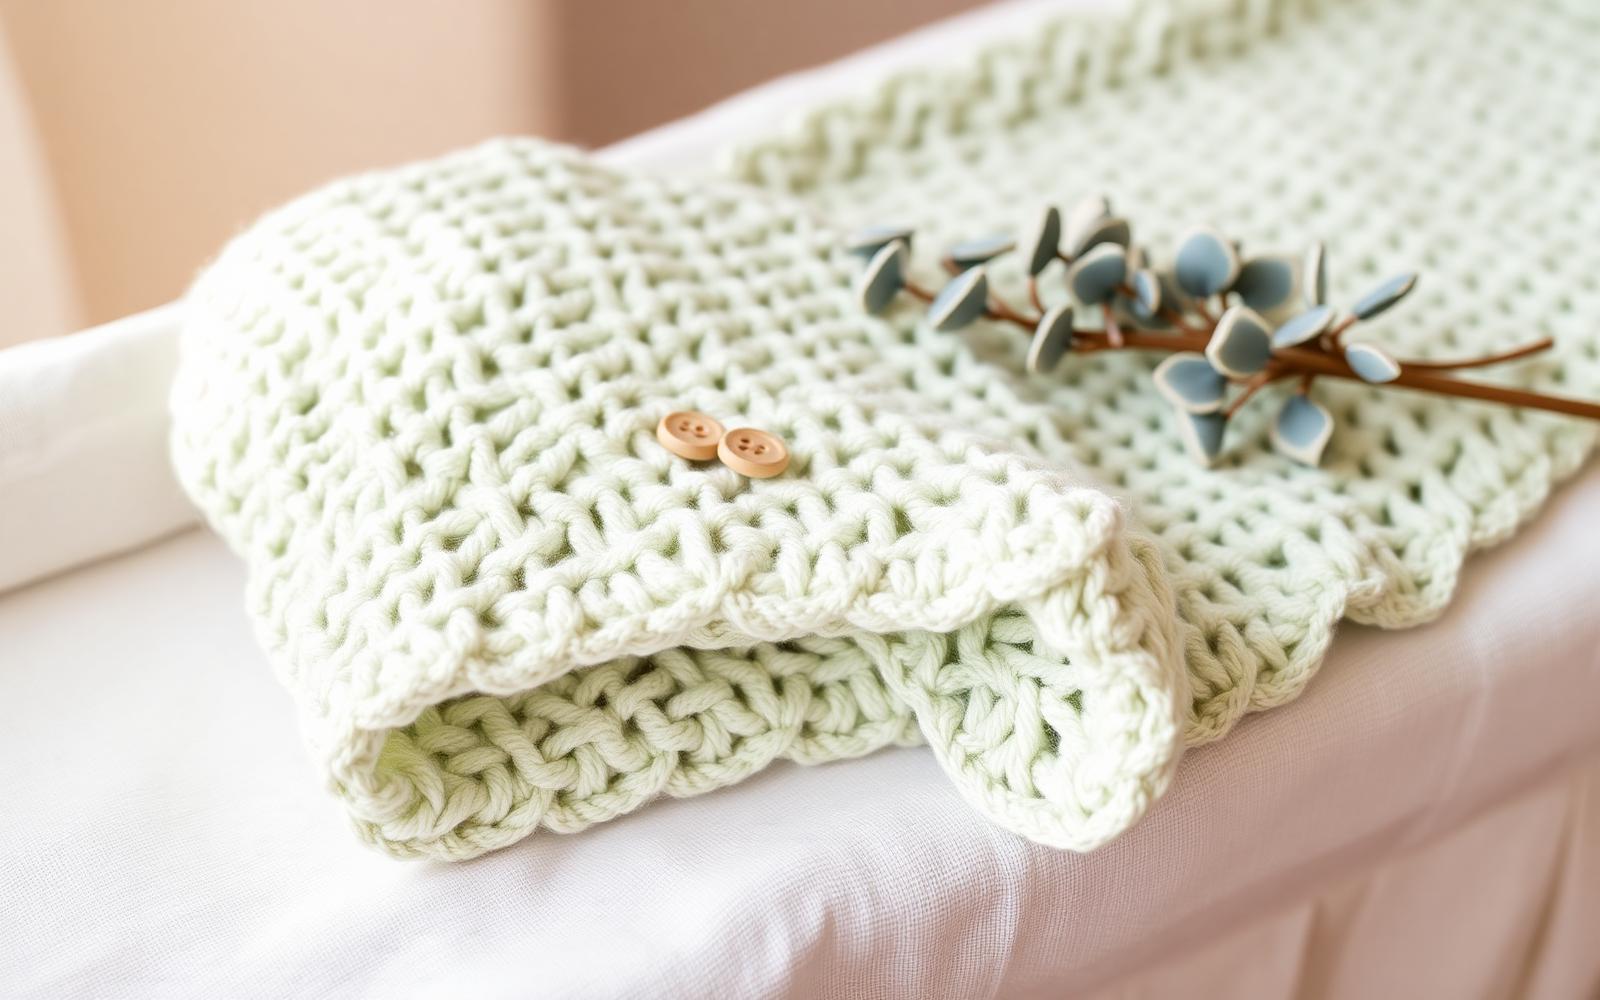
A soft, drapey shell-stitch baby blanket that works up in a weekend. Full written pattern, size chart, yarn recommendations, and the shell-stitch fix everyone gets wrong on Row 2.