DIY CraftsBeginner
10 Easy DIY Crafts for a Cozy Weekend Afternoon
Ten small, satisfying DIY projects you can finish in an afternoon — using materials you probably already have, with real photos and honest time estimates.
Ten small, satisfying DIY projects you can finish in an afternoon — using materials you probably already have, with real photos and honest time estimates.
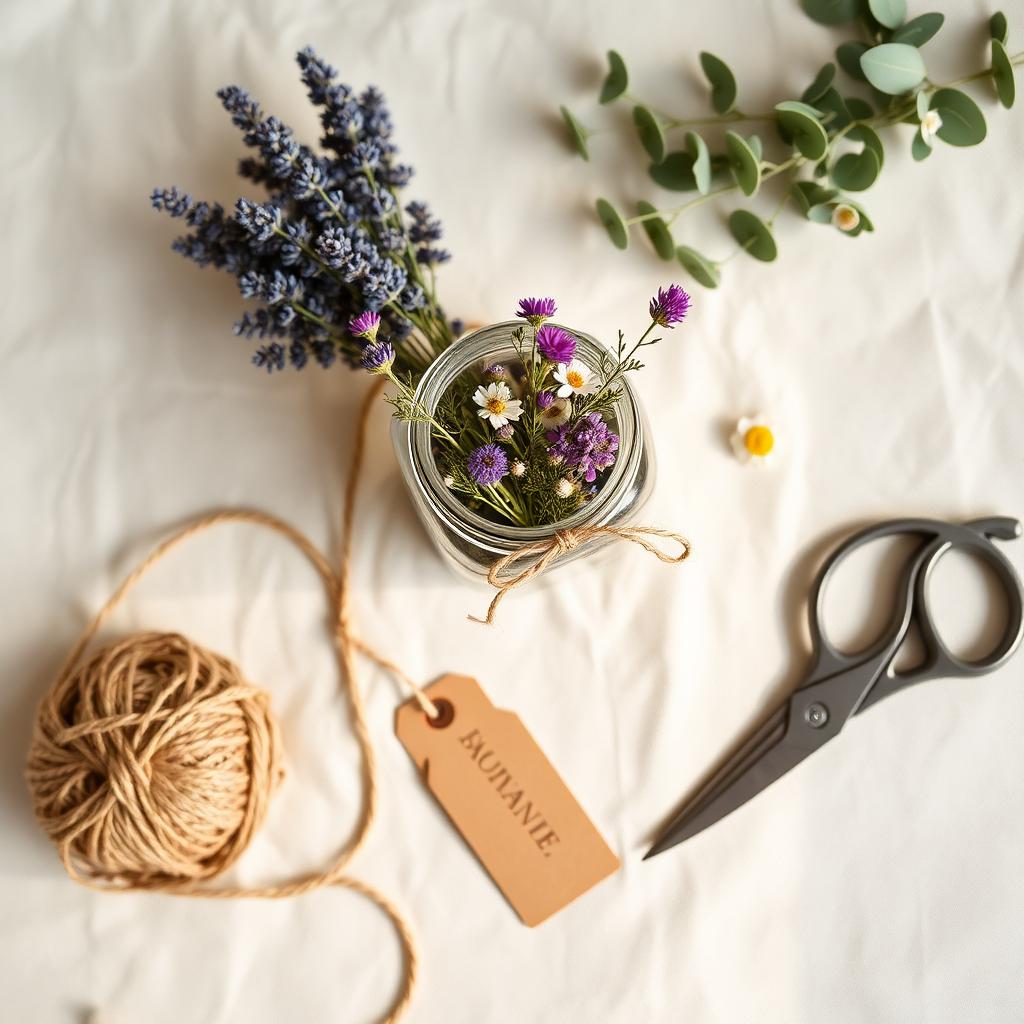
There is a particular kind of weekend afternoon where you don't want to leave the house, but you also don't want to stare at another screen. Small DIY crafts are made for that afternoon. None of these projects take more than two hours, most use materials you already have, and every one of them ends with something you can put on a shelf or give away.
I've made every project on this list, some of them dozens of times, and I've kept the time estimates honest — including setup, cleanup and the inevitable 'wait, where are the scissors' interruption.
Time: 20 minutes (plus 1 week pressing). Materials: dried pressed flowers, self-adhesive laminating sheets or clear contact paper, sharp scissors. Sandwich the flowers between two laminating sheets, cut into a bookmark shape, punch a hole in the top and add a small ribbon or tassel. If you don't have pressed flowers, press some now between the pages of a heavy book — a week is plenty of time for small blooms.
Time: 45 minutes. Materials: small mason jar, soy wax flakes, cotton wick, essential oil (lavender or rosemary), dried herbs. Melt the wax in a double boiler, stir in 15–20 drops of essential oil, add a small pinch of dried herbs, pour into the jar around a centered wick. Let cure overnight before burning. Skip the herbs on the wick itself — they'll ignite. Sprinkle a few on top after pouring instead.
Time: 20–30 minutes. Materials: empty glass jar or bottle, natural jute or cotton twine, hot glue gun. Add a small dot of glue to the base of the jar, secure the end of the twine, and wrap tightly upward, adding a dot of glue every inch. Trim and tuck the end. Fill with dried grasses or a single stem. This is the craft I make the most — it turns pasta-sauce jars into keepers.
Time: 30 minutes active, 2 hours in oven. Materials: 2 cups flour, 1 cup salt, 1 cup warm water, cookie cutters, straw for hole punching, twine. Mix, roll to ¼ inch thick, cut, punch a hole for hanging, bake at 200°F for 2 hours until fully dry. Paint or leave natural. These last for years if kept dry.
Time: 30 minutes for a stack of 20. Materials: brown kraft cardstock, hole punch, twine, black felt-tip pen. Cut cardstock into 2" x 3" rectangles, snip the top corners for a classic tag shape, punch a hole, add twine. Letter with names, dates or short messages. A stack of these lasts a whole gifting season.
Time: 15 minutes active, 3 hours in oven. Materials: 3–4 oranges, twine, tapestry needle. Slice oranges ¼ inch thick, blot dry with a paper towel, bake at 200°F for 2.5–3 hours flipping once. Cool completely, then thread onto twine with a large needle. Beautiful in a window, and the whole house smells like citrus while they bake.
Time: 15 minutes. Materials: 4–6 flat smooth stones, clear-drying craft glue or two-part epoxy. Stack the stones largest to smallest with a drop of glue between each layer. Let cure overnight. Free if you have a park nearby, and the trickiest part is choosing which stones to keep.
Time: 30–45 minutes. Materials: a regular dinner fork, embroidery floss or thin yarn in two colors. Loop the working yarn around the fork tines and weave over-under-over to build a tiny warp-and-weft rectangle. Slide off the fork, tie the ends, add a tassel. Kids love this project, and it's the world's cheapest introduction to weaving.
Time: 45 minutes. Materials: cotton fabric squares (cut from an old shirt is fine), beeswax pellets, parchment paper, iron. Sandwich sprinkled beeswax between fabric and parchment, iron until the wax melts and saturates the fabric, peel off. Reusable, washable in cold water, lasts a year. Genuinely useful and satisfying to make.
Time: 60 minutes. Materials: an old cotton t-shirt or three, sharp scissors, needle and thread. Cut the shirt into 1-inch strips, braid three strips together, coil the braid into a flat spiral and hand-stitch the coil together as you go. Warm, forgiving and a great use for shirts that are too worn to donate.
One clear plastic bin, or a wide wicker basket, is enough for years of small-craft supplies. Keep glue guns and scissors in a separate small container so they don't melt into everything. Twine, ribbon and yarn scraps go in old glass jars — beautiful even when they're just sitting on a shelf.
The twine-wrapped vase or hand-lettered gift tags. Both are hard to mess up, need minimal materials, and produce something you'll actually use within an hour.
No. A hot glue gun and sharp scissors cover 80% of what you need. Everything else — twine, jars, kraft paper, dried flowers — is inexpensive or free.
Salt-dough ornaments, hand-lettered tags, dried orange garland (with adult supervision at the oven), rock stack paperweights and fork weaving are all kid-friendly. Skip beeswax wraps and the candle for children under 8.
Warm the glue gun for at least 5 minutes before use, and pause slightly after each dot before pulling away. Trim any strings once cool with sharp scissors — don't try to remove them while warm.
Yes — none of these use anyone's proprietary pattern. As always with handmade for sale, use quality materials and price your time honestly.
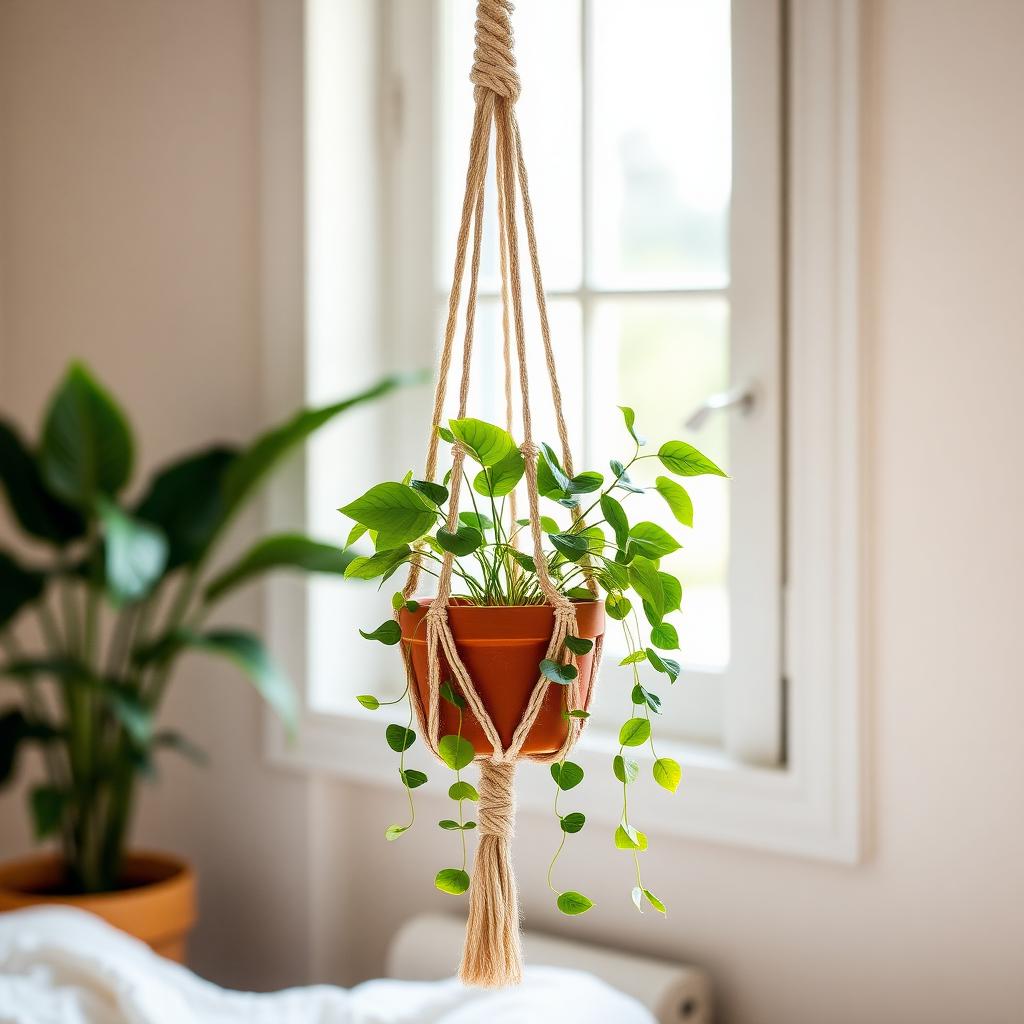
A boho macramé plant hanger you can make in an afternoon using only three knots: lark's head, square knot, and half hitch. Full measurements for a 4-inch pot.
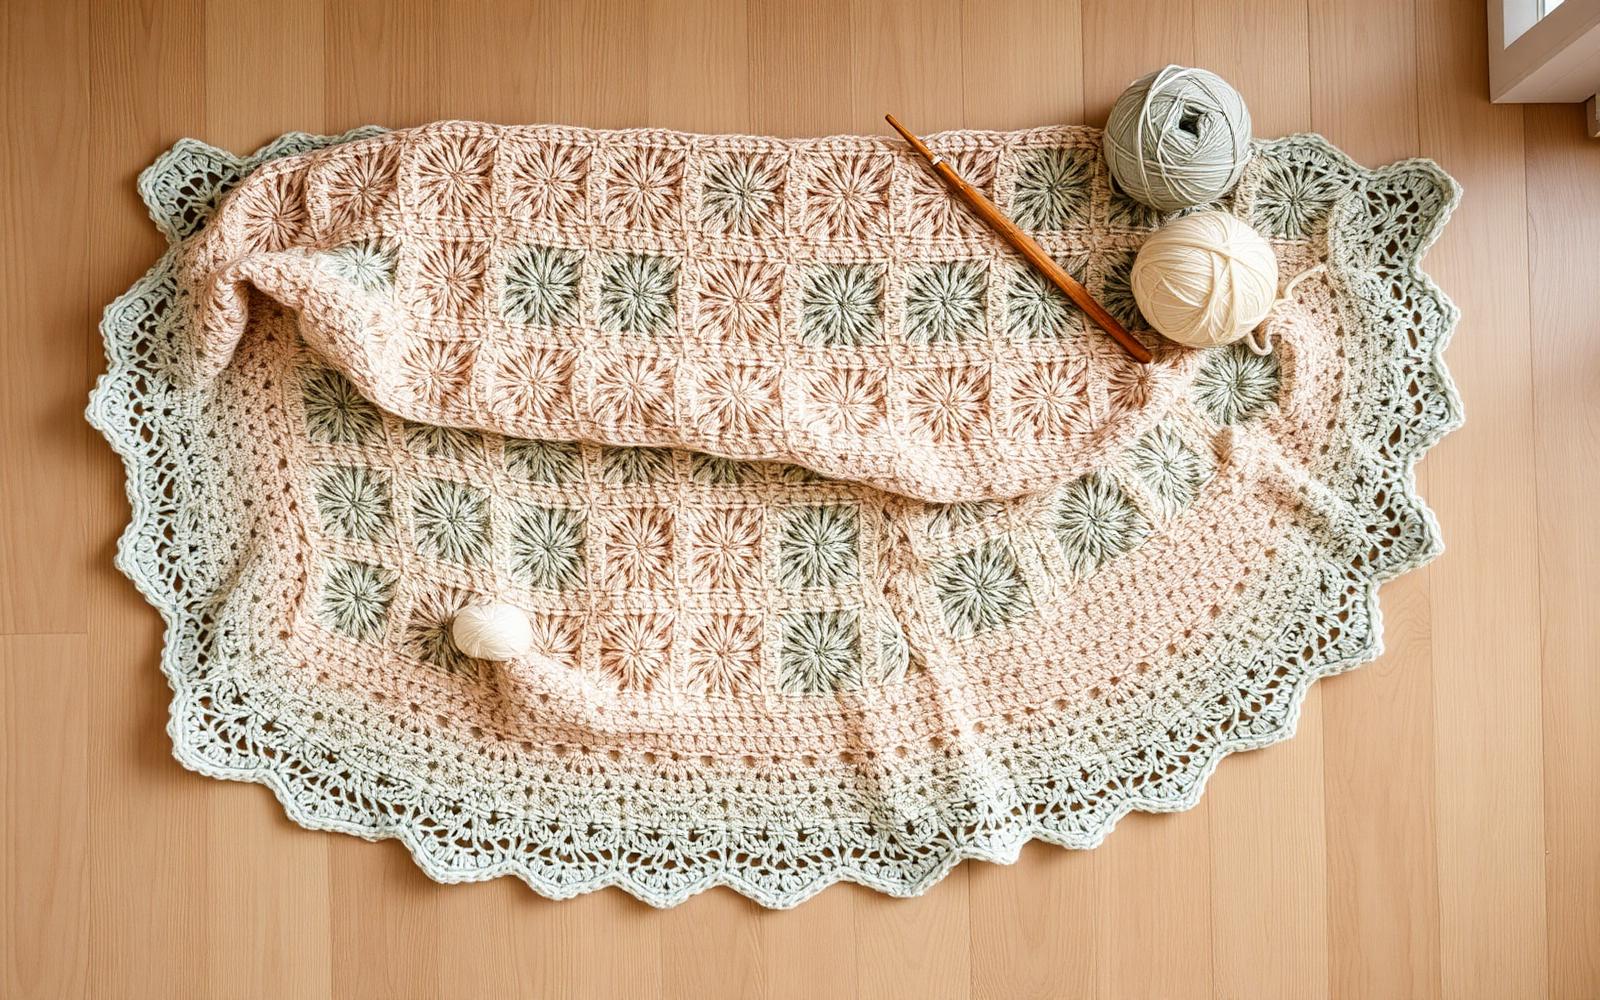
A relaxed, forgiving granny-square blanket you can start today. Full pattern, materials, joining method, and honest tips from stitching this design a dozen times.
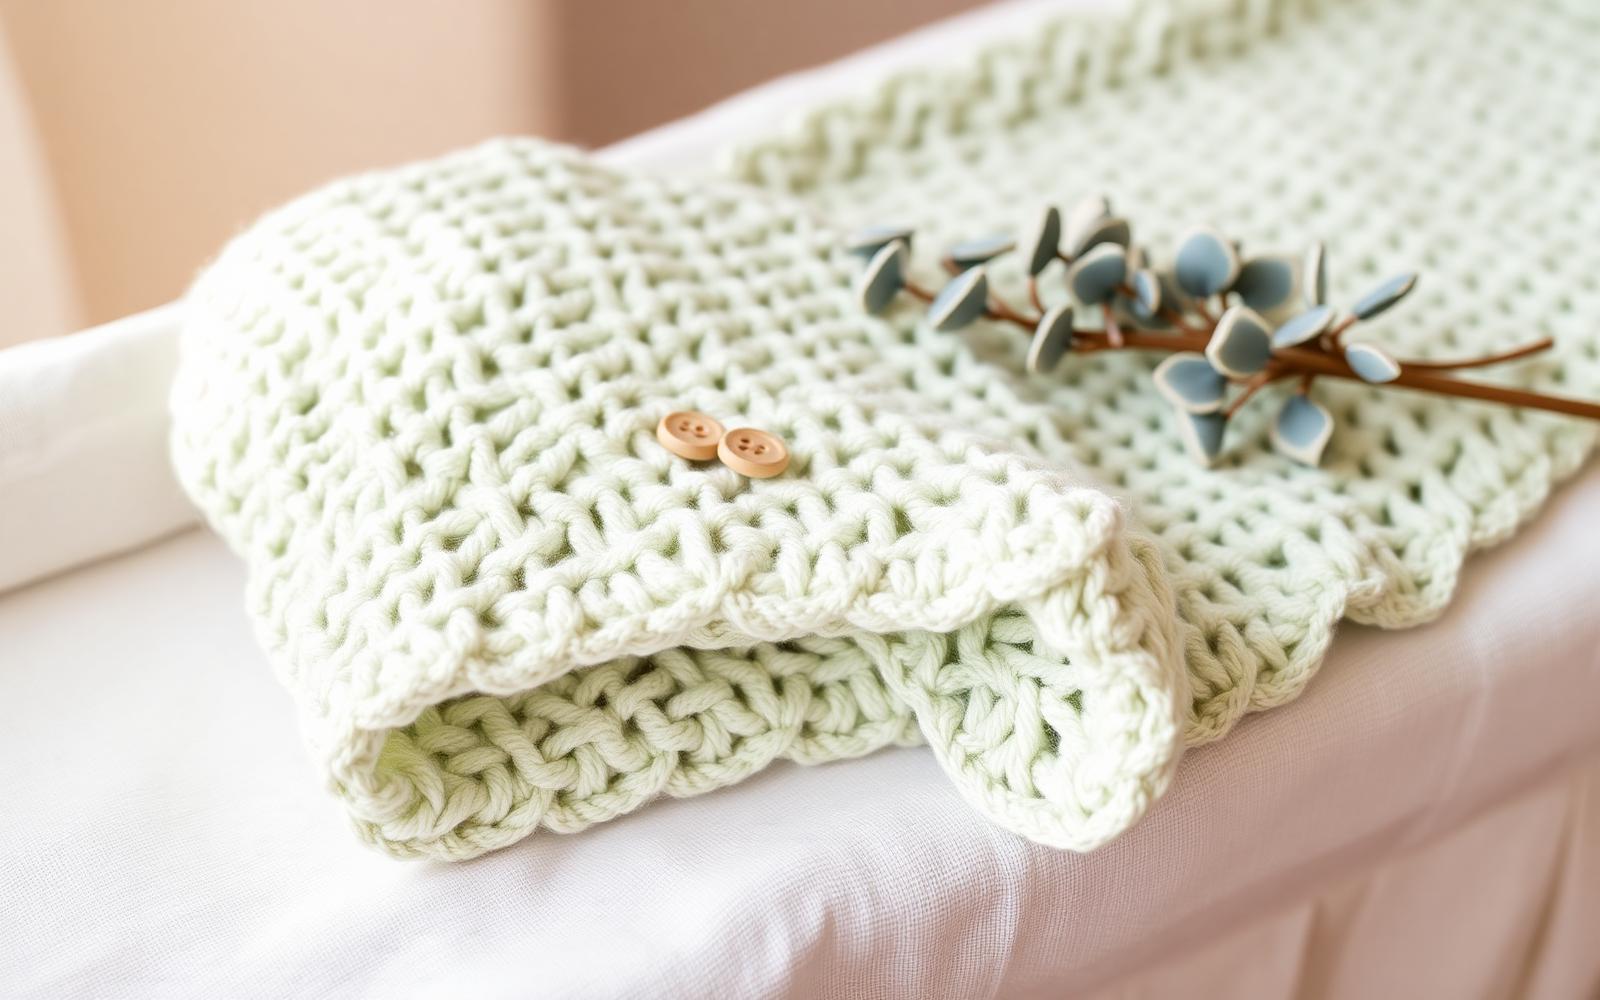
A soft, drapey shell-stitch baby blanket that works up in a weekend. Full written pattern, size chart, yarn recommendations, and the shell-stitch fix everyone gets wrong on Row 2.