DIY Home DecorBeginner
DIY Farmhouse Wooden Shelf (Beginner Woodworking)
A simple wall-mounted floating shelf you can build in an afternoon with basic tools. Full cut list, hardware, staining, and mounting for a shelf that holds real weight.
A simple wall-mounted floating shelf you can build in an afternoon with basic tools. Full cut list, hardware, staining, and mounting for a shelf that holds real weight.
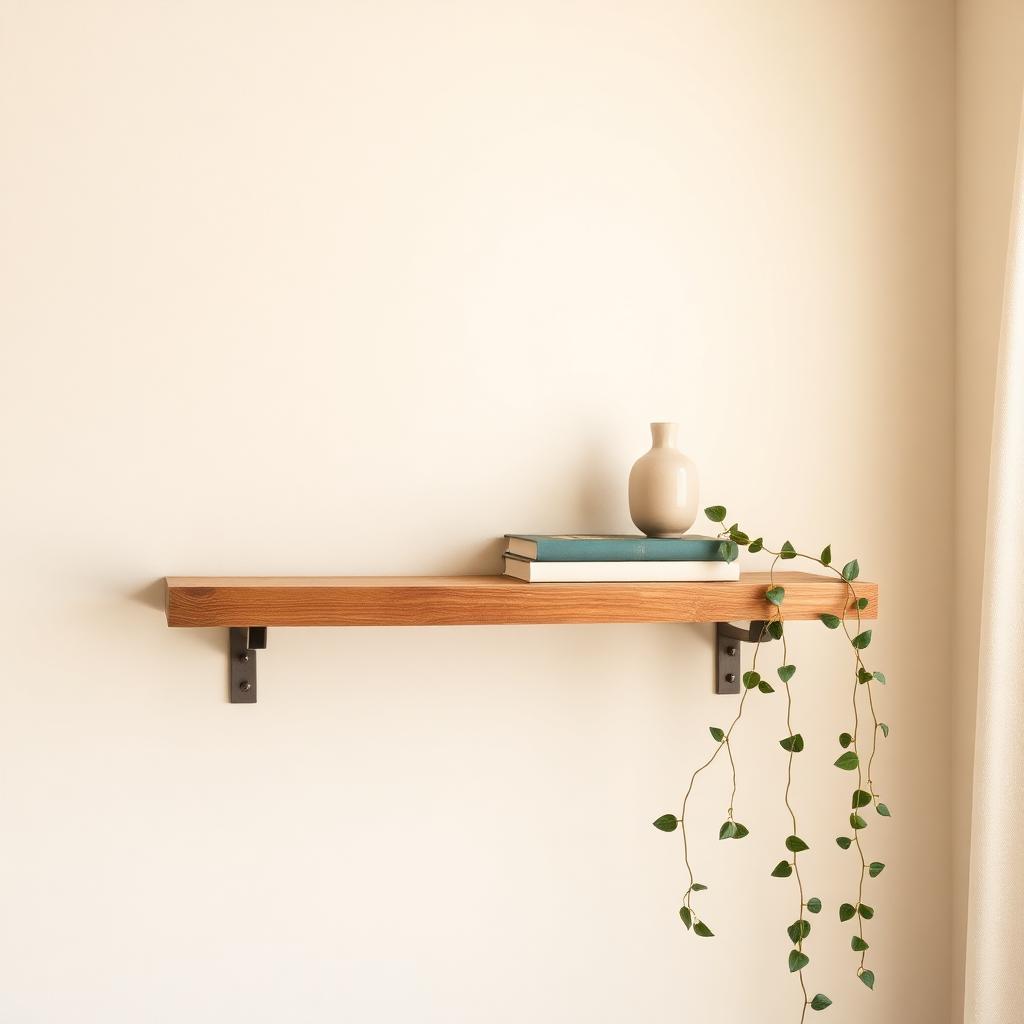
A wooden floating shelf is one of the highest-impact DIY projects you can build in an afternoon. No fancy joinery, no expensive tools — just cut a board to length, sand, stain, and mount with two brackets. The finished shelf costs a fraction of anywhere-else pricing and looks noticeably nicer because it fits your exact wall.
Pine is cheap, easy to work with, and stains to a warm tone. Oak is denser, more expensive, and holds more weight — pick oak if the shelf will hold books or heavier decor. A 1-inch-thick, 6-inch-deep board is standard for a decorative shelf; go to 1.5 inches thick if the span is over 24 inches.
Most home-improvement stores will cut a board to length for you at no charge — bring your measurement and skip owning a saw for a one-off project. For a first shelf, 24 inches is a comfortable size that fits most wall spaces.
Work in a well-ventilated area, ideally outside. Wear disposable gloves.
Flip the shelf upside down. Position one L-bracket flush with each end of the shelf, leaving 2–3 inches of clearance from the wall-facing edge (this hides the brackets when the shelf is mounted). Pre-drill four small pilot holes through each bracket into the underside of the shelf, then drive ¾-inch wood screws.
With both brackets mounted into studs, this shelf comfortably holds 20+ pounds. With drywall anchors only, keep decor under 5 pounds per bracket. Books stack heavier than they look — a 24-inch shelf of paperbacks can easily hit 15 pounds.
Pine for budget projects and beginners — it's soft, easy to cut and sand, and stains warmly. Oak or maple for shelves holding heavier weight; both are denser and hold screws better.
No. Have the board cut at the hardware store, hand-sand with sandpaper, and drive screws with a manual screwdriver. A cordless drill makes mounting faster but isn't required for a single shelf.
Use quality drywall anchors rated for at least 25 pounds each. Toggle bolts hold significantly more weight than plastic anchors. Never mount heavy items with only plastic anchors — they will pull out over time.
About 2 hours of active work: 30 minutes sanding, 30 minutes staining, 24 hours drying time (passive), then 30 minutes mounting. Full project spans two days end-to-end because of stain drying.
Yes. Prime with a stain-blocking primer first, then apply two thin coats of latex or chalk paint. Painting is faster than staining and hides pine's tendency to blotch. Finish with a matte or satin sealer for durability.
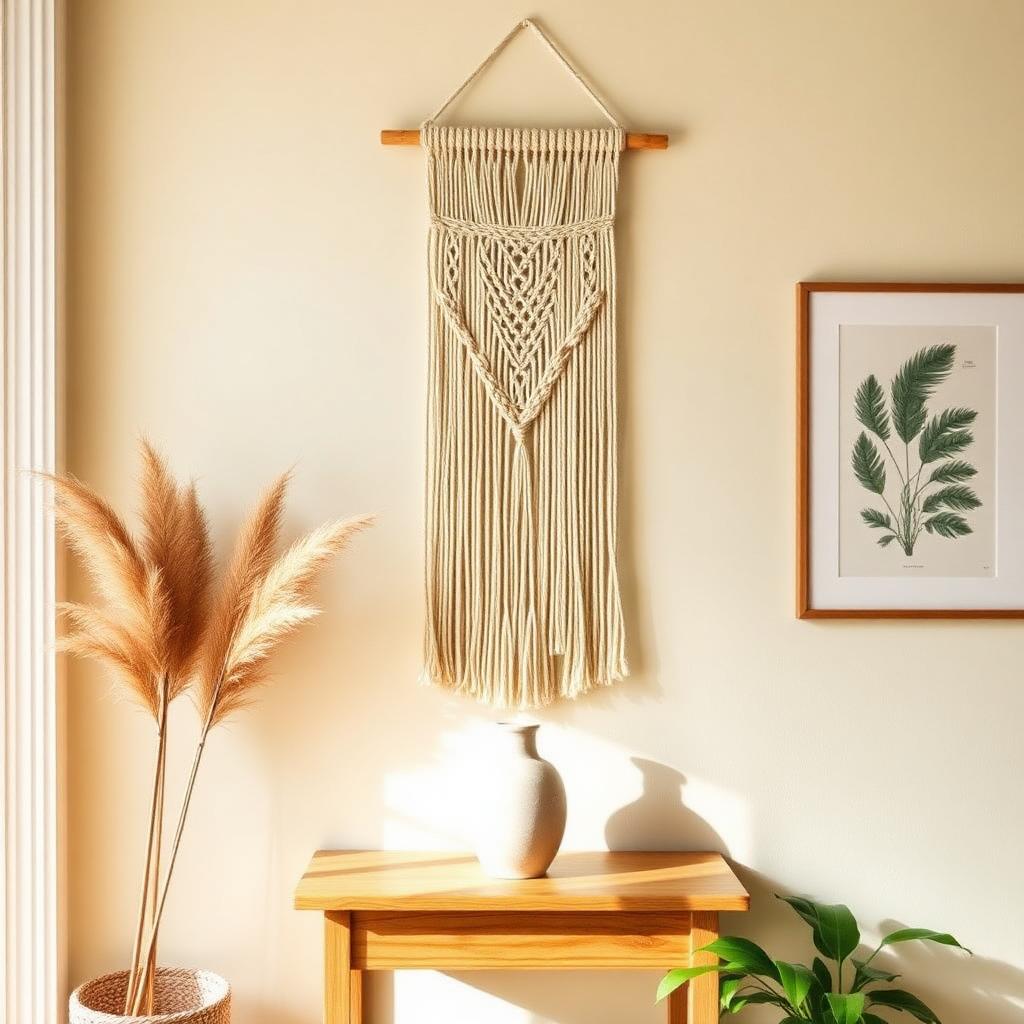
Eight budget-friendly home decor projects that quietly upgrade a room — with real materials lists, finish photos and the shortcuts that make them look store-bought.
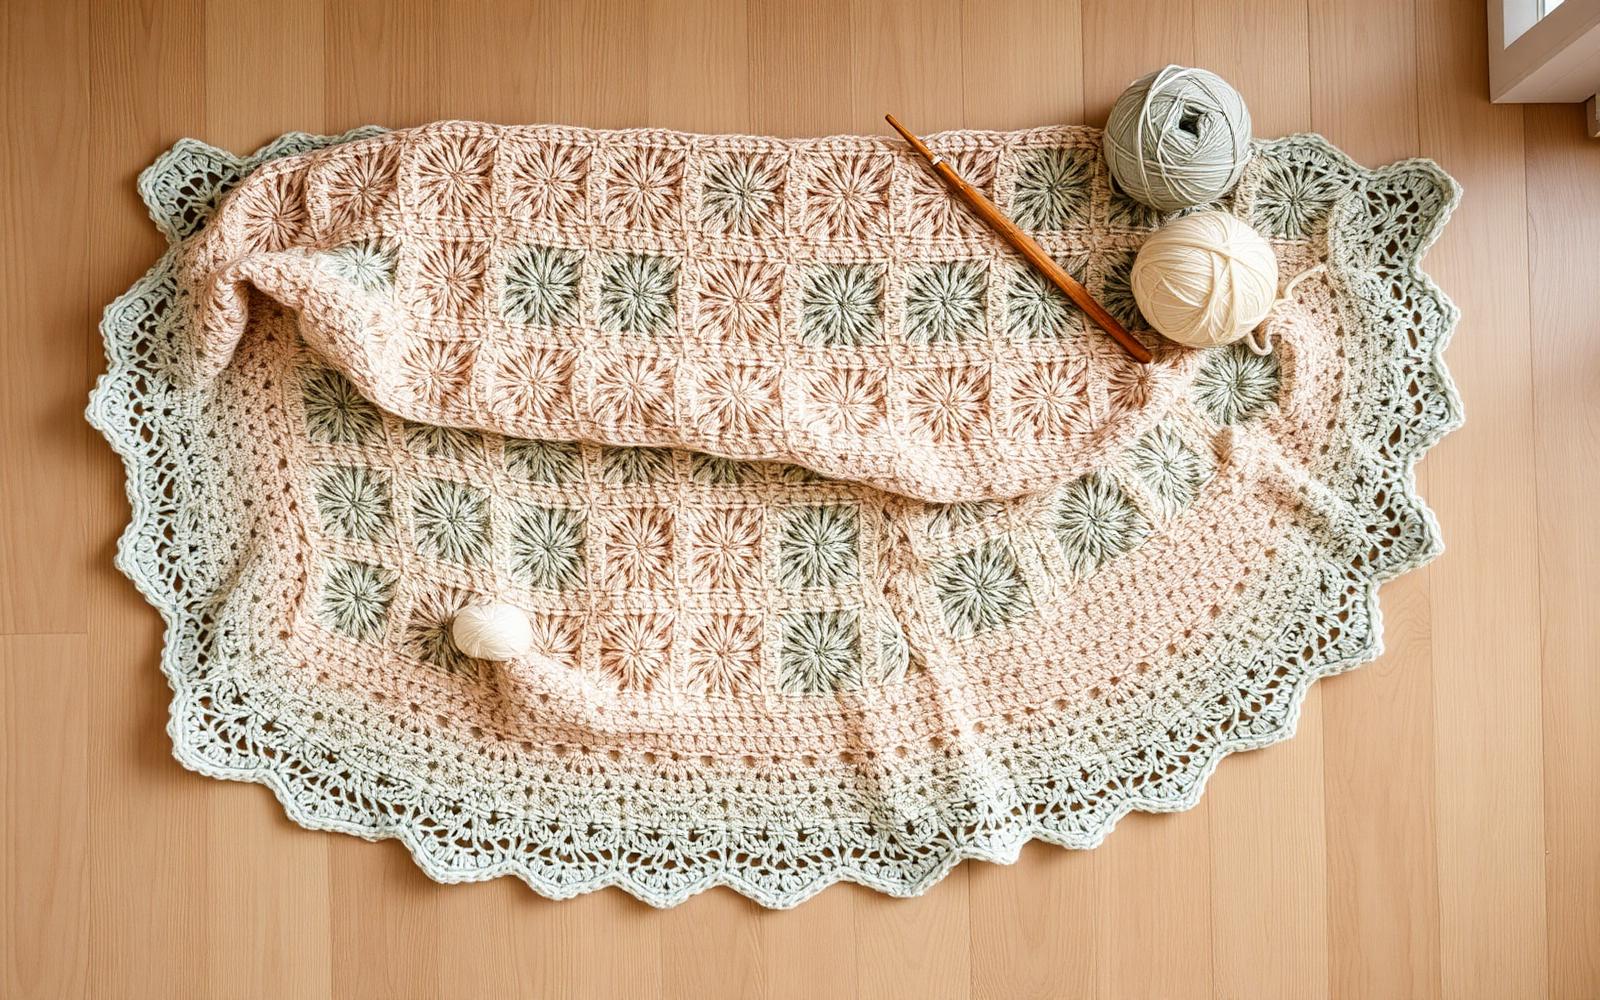
A relaxed, forgiving granny-square blanket you can start today. Full pattern, materials, joining method, and honest tips from stitching this design a dozen times.
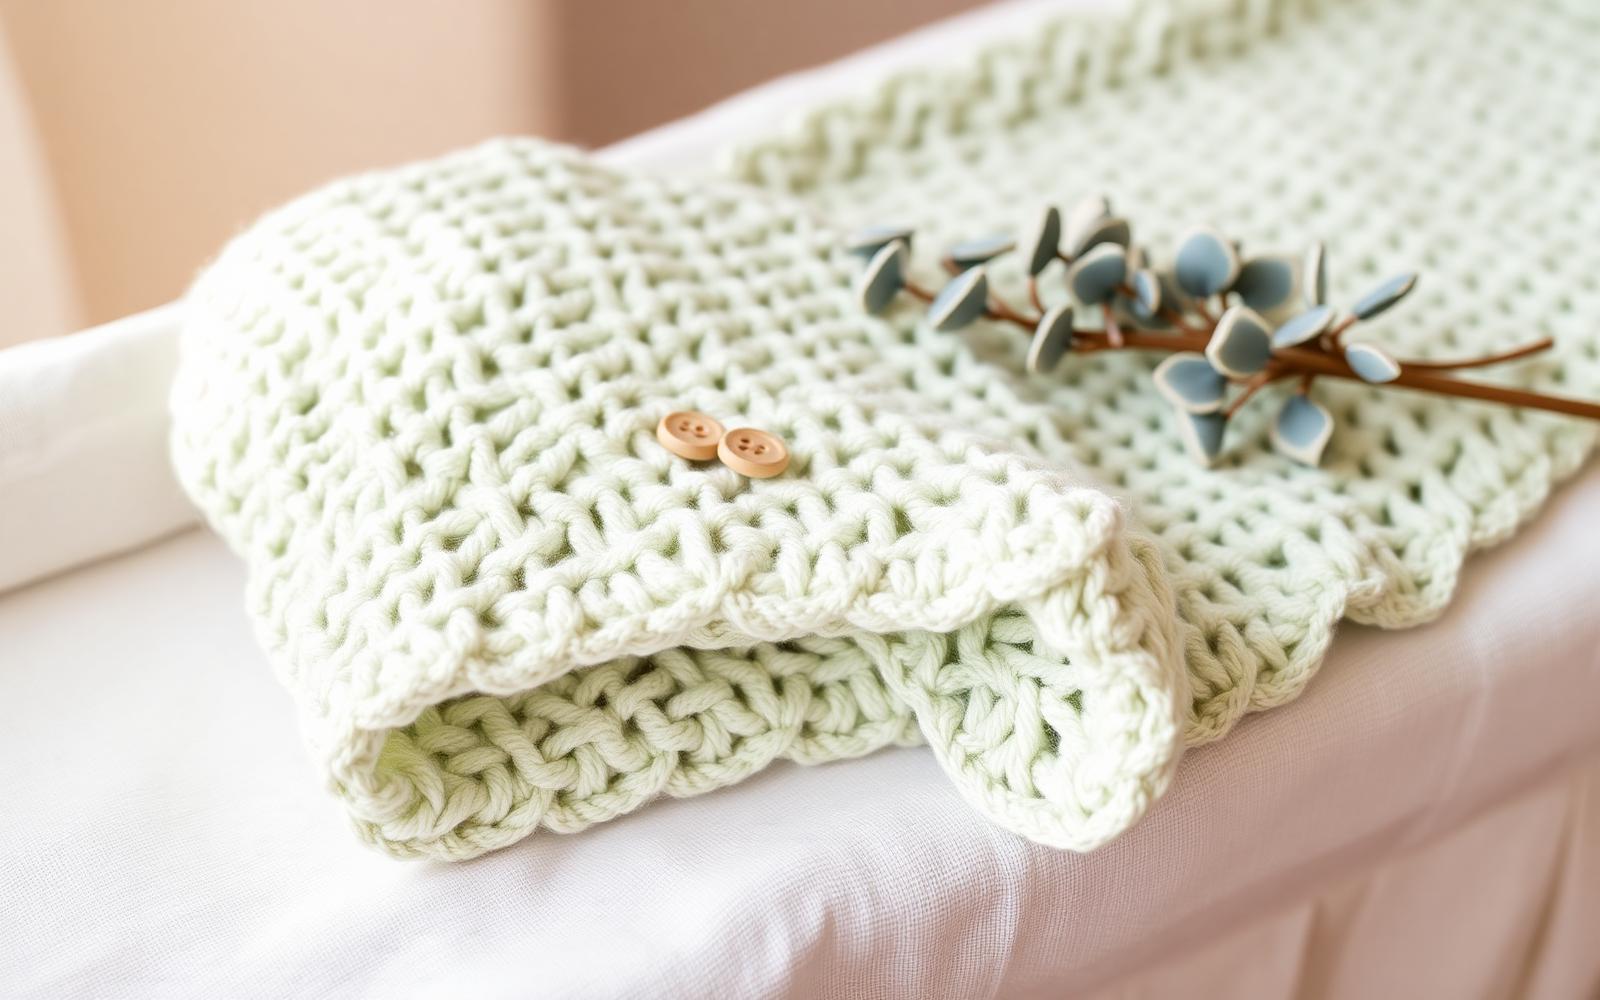
A soft, drapey shell-stitch baby blanket that works up in a weekend. Full written pattern, size chart, yarn recommendations, and the shell-stitch fix everyone gets wrong on Row 2.