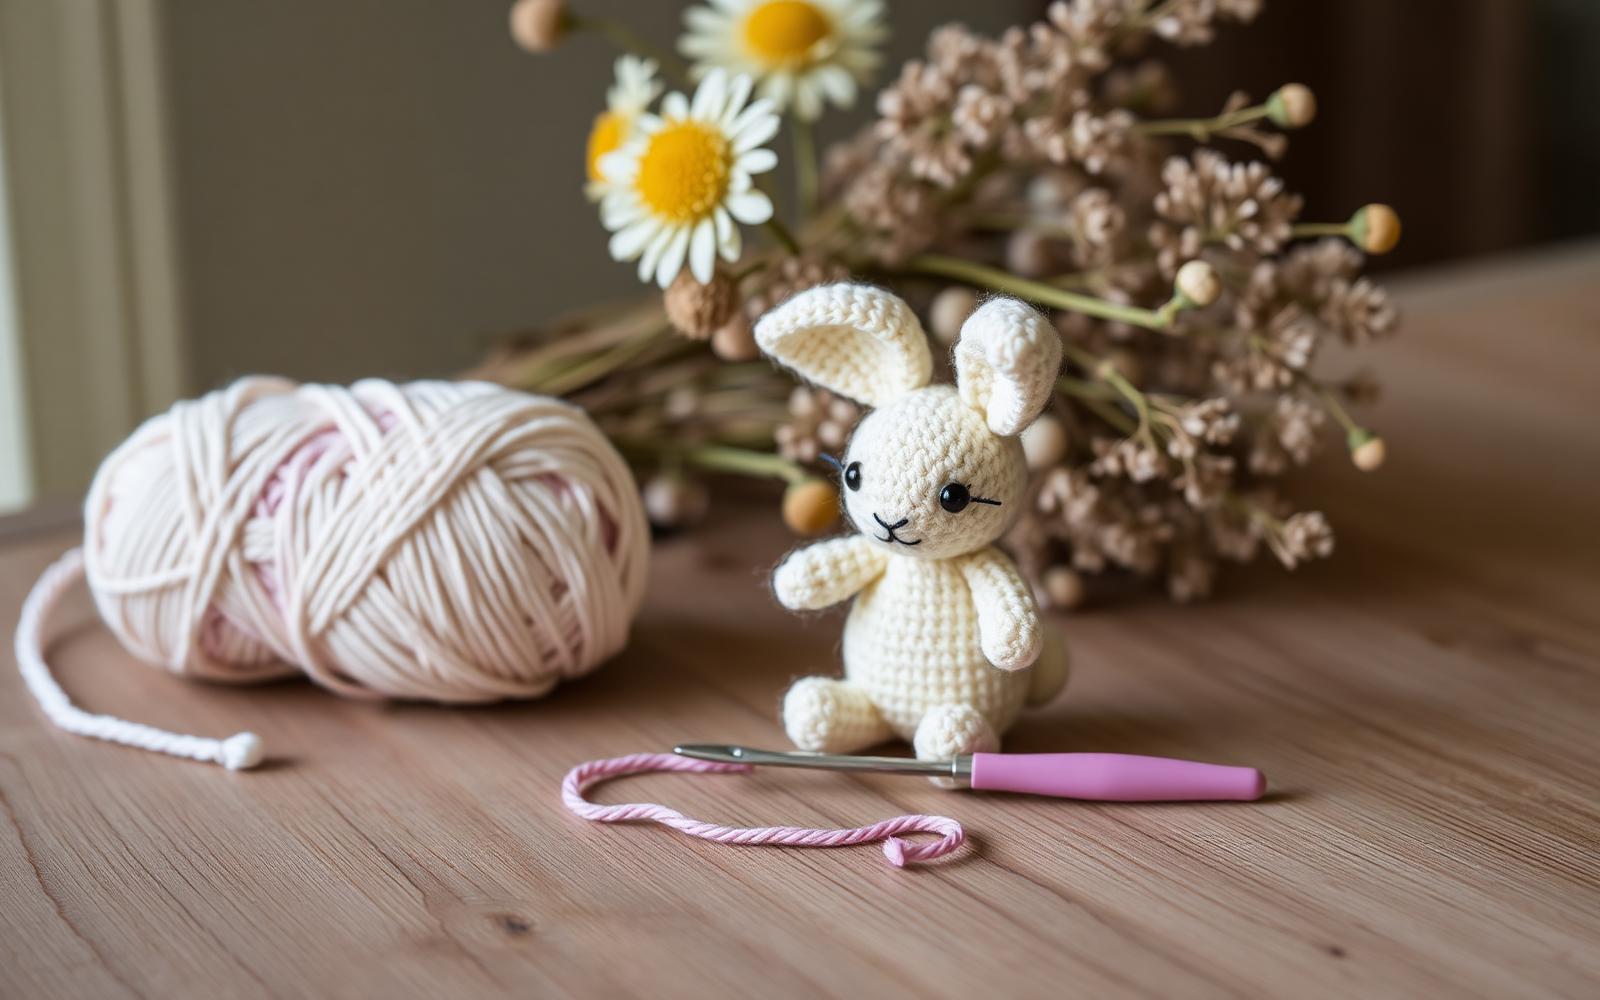
Amigurumi looks harder than it is. Almost every piece — tiny bunny, chubby cat, elephant with a felt tie — is built from the same five techniques worked over and over. Learn these five well and you can follow any amigurumi pattern in the wild.
Every amigurumi starts with a magic ring, because you need a closed center. See our 'How to Crochet in the Round' guide for the step-by-step — the version that ends with a firm tail-pull is what you want. Most patterns open with '6 sc in MR' and you're off.
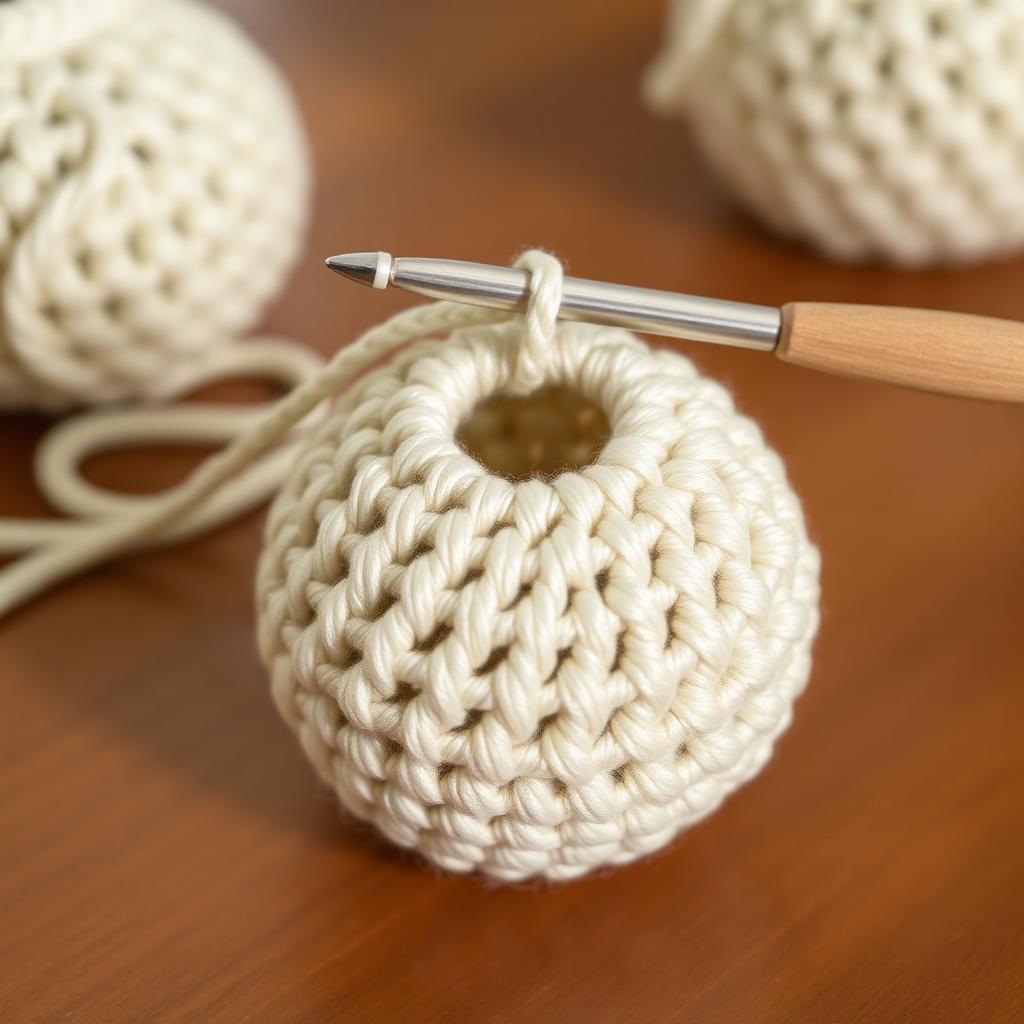
Amigurumi is NOT worked in joined rounds. You skip the slip-stitch join and spiral upward continuously — this eliminates the visible vertical seam that would ruin a smooth sphere. Use a stitch marker in the first stitch of every round to keep count.
A basic amigurumi sphere uses the following increase pattern, starting with 6 sc in a magic ring:
- Rnd 1: 6 sc in MR (6)
- Rnd 2: inc in each st (12)
- Rnd 3: *sc, inc* repeat (18)
- Rnd 4: *2 sc, inc* repeat (24)
- Rnd 5: *3 sc, inc* repeat (30)
- Rnd 6: *4 sc, inc* repeat (36)
- Rnds 7–10: sc in each st (36) — this is the straight middle section of the sphere
- Rnd 11: *4 sc, dec* repeat (30)
- Rnd 12: *3 sc, dec* repeat (24)
- Rnd 13: *2 sc, dec* repeat (18) — stuff firmly now
- Rnd 14: *sc, dec* repeat (12)
- Rnd 15: dec around (6)
- Fasten off, leaving a long tail. Thread through remaining stitches and pull to close.
Pattern math shortcut
For any sphere, the number of increase rounds = the number of decrease rounds. Whatever your maximum stitch count, you mirror it back down. Straight rounds in the middle set the overall size.
The standard 'sc2tog' leaves a visible bump. The invisible decrease is a two-second variation that hides completely:
- Insert hook into the FRONT loop only of the next stitch.
- Insert hook into the front loop only of the following stitch (both front loops now on hook).
- Yarn over and pull through both front loops (2 loops on hook).
- Yarn over and pull through both remaining loops.
Use it on every amigurumi decrease. Zero downside.
Stuff in small pinches, shaping the piece with your other hand as you go. Add polyfil until the fabric feels firm but not stretched. To close the last 6 stitches: thread the tail through a tapestry needle, weave through the front loop of each remaining stitch, pull tight to cinch shut, and weave the tail into the body.
For arms, legs, ears and tails, use pins to position pieces symmetrically BEFORE sewing anything. Stand back, adjust, then sew with a whip stitch or mattress stitch depending on how visible the seam will be. Assembly makes or breaks a finished amigurumi — take twice as long as you think you need.
For children under three, skip safety eyes entirely and embroider features with yarn or embroidery floss. Use polyester fiberfill (not beads) for stuffing. Cotton yarn is machine washable and non-toxic — perfect for baby-safe amigurumi.