AmigurumiBeginner
Amigurumi Bunny Pattern for Beginners
A tiny crochet bunny in soft cream yarn — the perfect first amigurumi. Complete with a written pattern, safety notes for gifting to babies, and stuffing tips.
A tiny crochet bunny in soft cream yarn — the perfect first amigurumi. Complete with a written pattern, safety notes for gifting to babies, and stuffing tips.
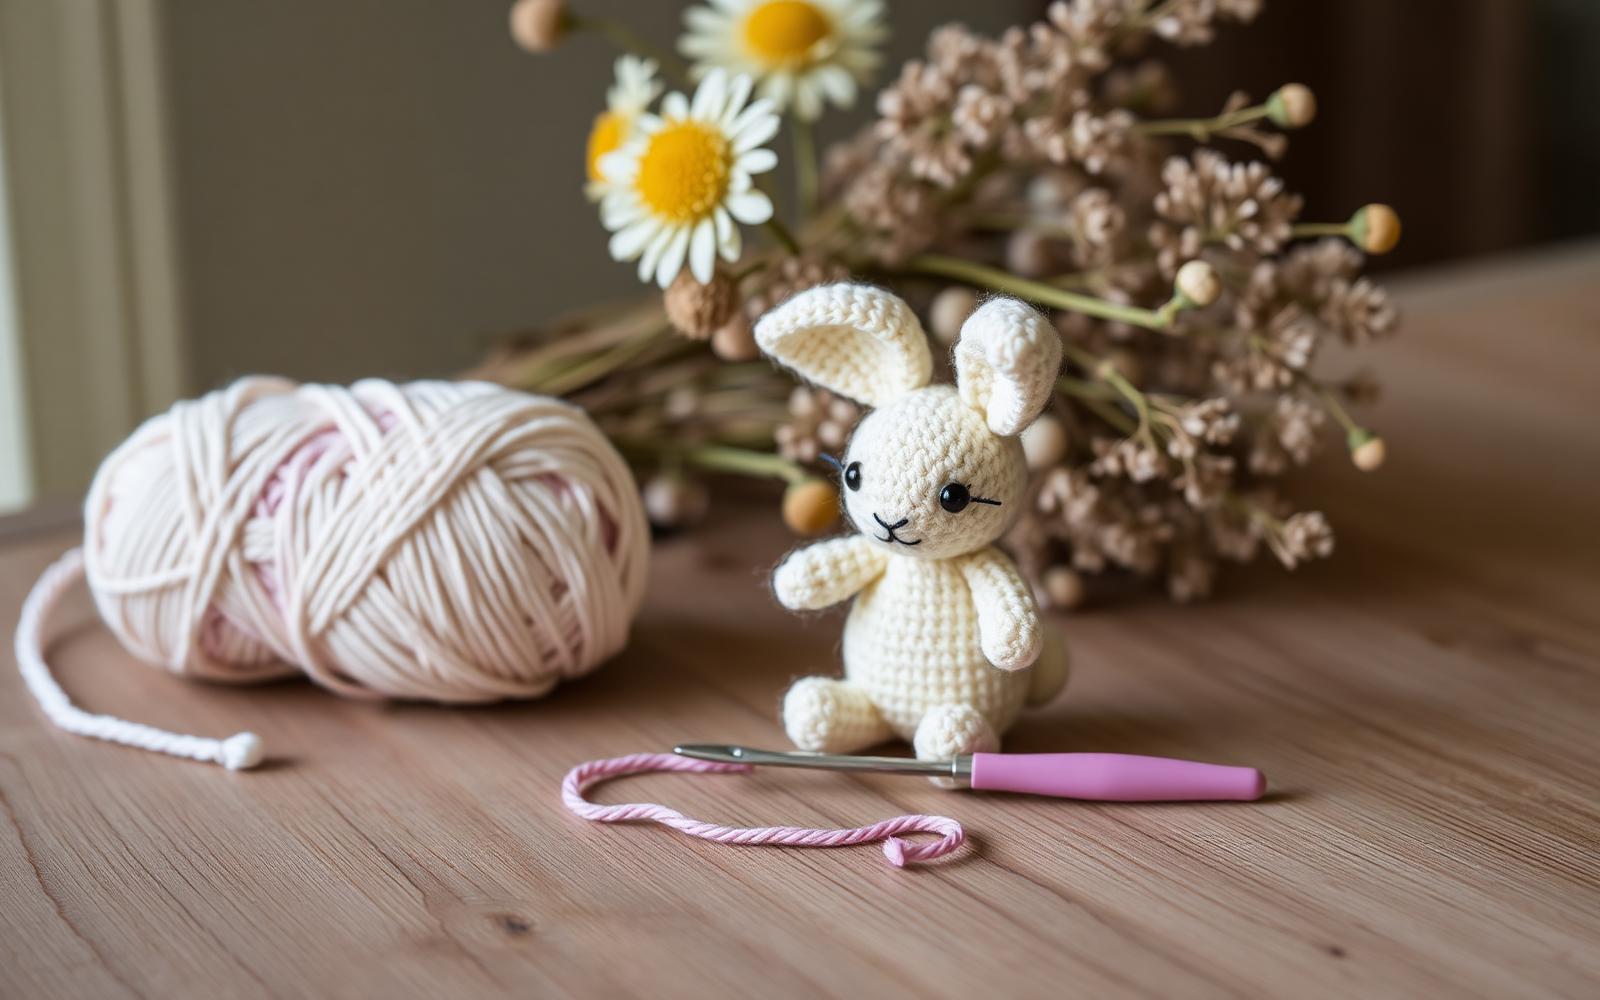
Amigurumi — the Japanese art of crocheted stuffed toys — has a reputation for being fiddly. It's not. It's just single crochet, worked in tight little spirals, over and over, until suddenly you're holding a bunny. This pattern is the one I use to teach amigurumi to first-timers, and every one of them finishes their bunny in a weekend.
This is a true beginner amigurumi pattern. You should be able to work single crochet, count stitches, and follow a written pattern round-by-round. If you've never worked in the round or done a magic ring, watch our 4-minute magic ring tutorial first — it's the only technique that will be new.
About 4.5 inches tall from feet to ear tips. Sits comfortably in the palm of your hand.
If this bunny is going to a child under 3, do NOT use safety eyes or plastic parts. Embroider the eyes with black thread instead. Small, firmly attached parts are the safe standard for infant toys. Use a machine-washable yarn and wash the finished bunny before gifting.
Sew the head to the body using the long tail on the head. Attach the ears to the top of the head about half an inch apart. Sew the arms to the upper body and the legs to the lower body. Embroider the eyes and a tiny inverted-Y nose with black embroidery thread. Weave in all remaining ends inside the body.
Not if you already know single crochet. Amigurumi is mostly the same stitch worked in tight spirals, so it's technically simple — the trick is consistent tension and keeping count of your rounds. A first bunny takes most beginners 4–6 hours.
DK or sport-weight cotton yarn. Cotton holds stitch definition beautifully, doesn't fuzz, and washes well. Avoid mohair or heavily textured yarns for your first project — you won't be able to see your stitches.
Safety eyes are safe for children 3 and older, when properly attached. For babies and toddlers under 3, embroider the eyes with black thread — no small removable parts.
Almost always one of three things: uneven tension, crossed rounds (from not marking the first stitch), or too-loose gauge. Try a smaller hook, use a stitch marker in every first stitch, and try to work at least 5 rounds at a time to avoid tension shifts.
Thread the long yarn tail through the tapestry needle. Weave it through the front loop of every remaining stitch, going around the opening once. Pull tight to gather the hole closed, then take the needle through the piece and out somewhere hidden. Trim.
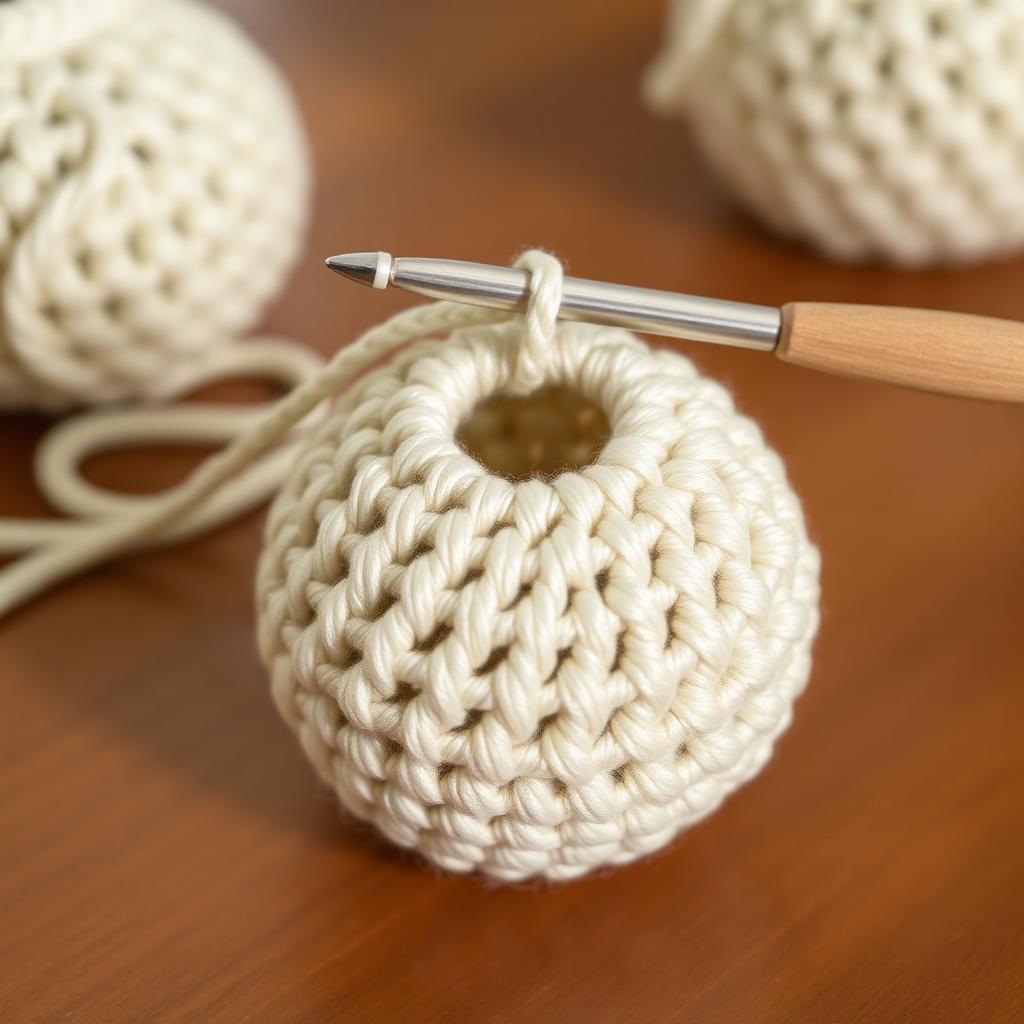
The five techniques every amigurumi crocheter needs — magic ring, continuous spiral, invisible decrease, safe stuffing, and clean seaming — with the specific fixes for lopsided or lumpy makes.
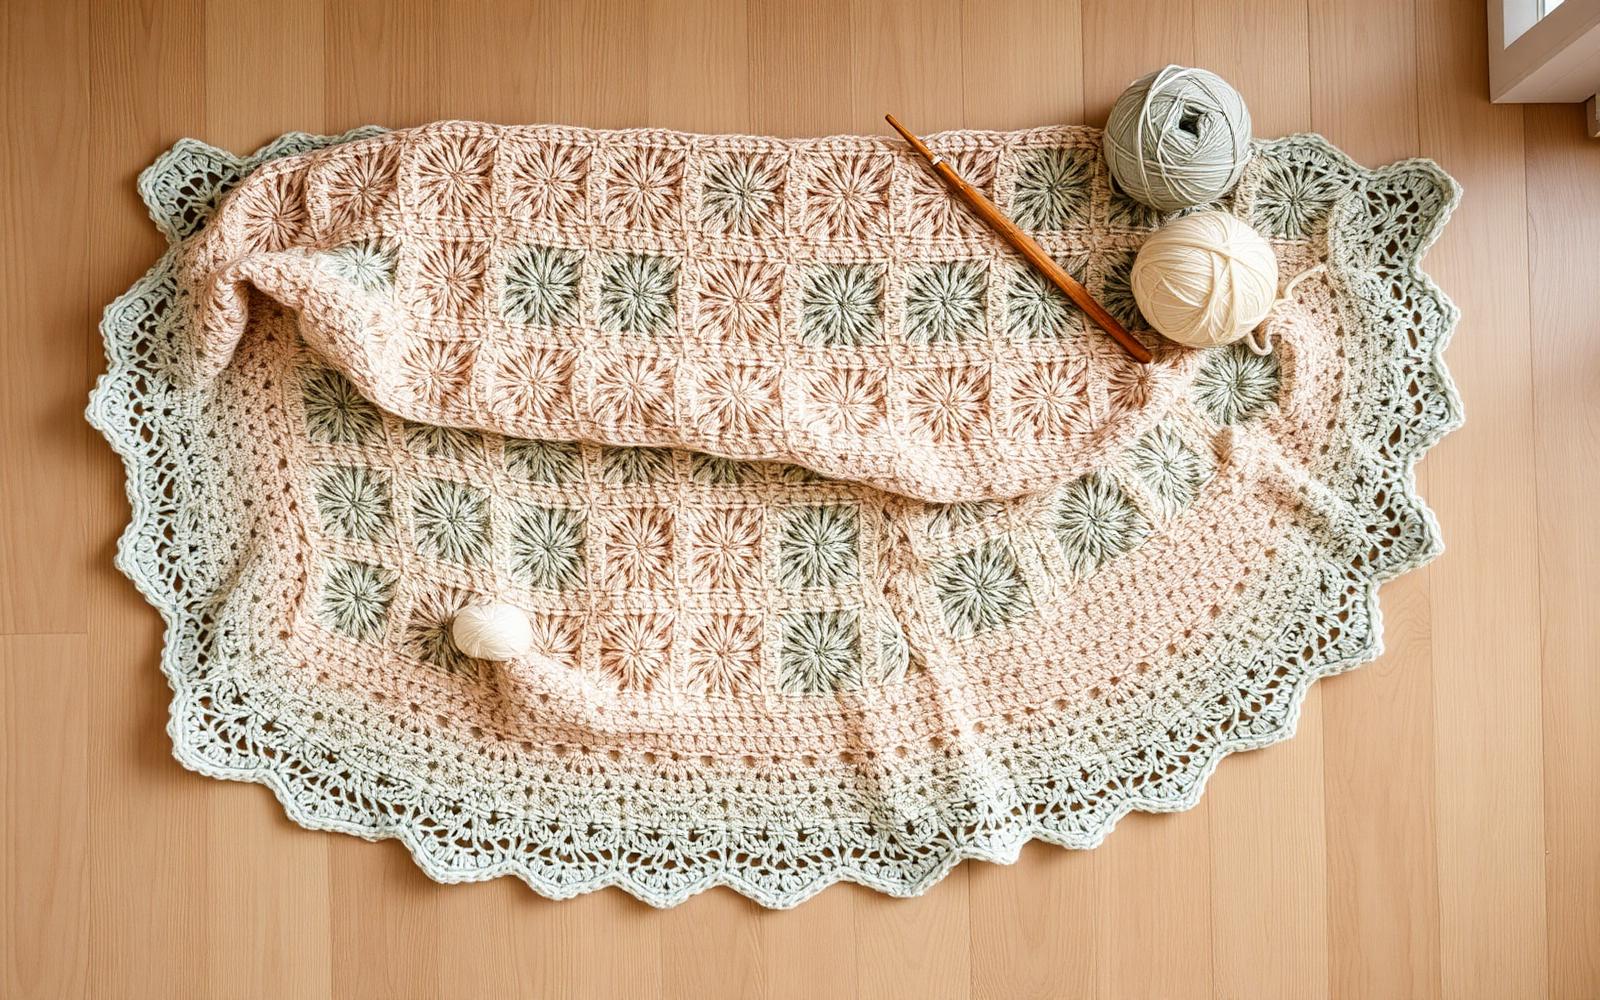
A relaxed, forgiving granny-square blanket you can start today. Full pattern, materials, joining method, and honest tips from stitching this design a dozen times.
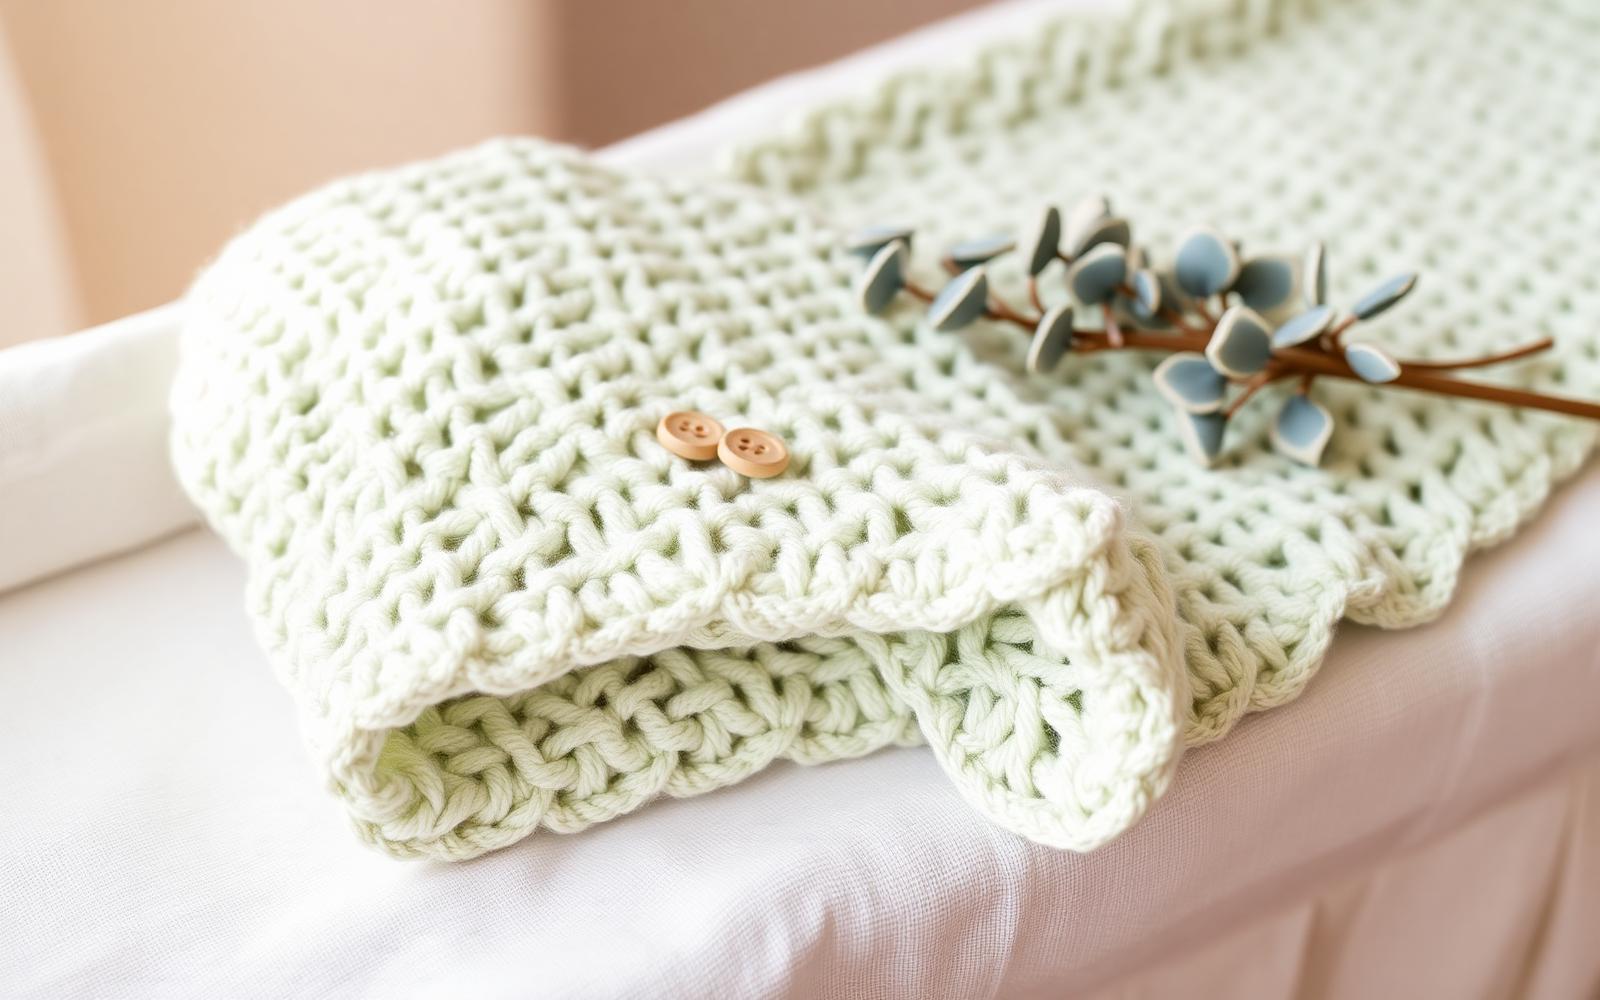
A soft, drapey shell-stitch baby blanket that works up in a weekend. Full written pattern, size chart, yarn recommendations, and the shell-stitch fix everyone gets wrong on Row 2.