Granny SquaresIntermediate

How to Join Granny Squares (5 Methods Compared)

Whip stitch, slip stitch, single crochet, mattress stitch, and join-as-you-go — with side-by-side notes on which looks best, holds up longest, and works fastest for large blankets.

12 min read Updated July 23, 2026 By Mira Holloway
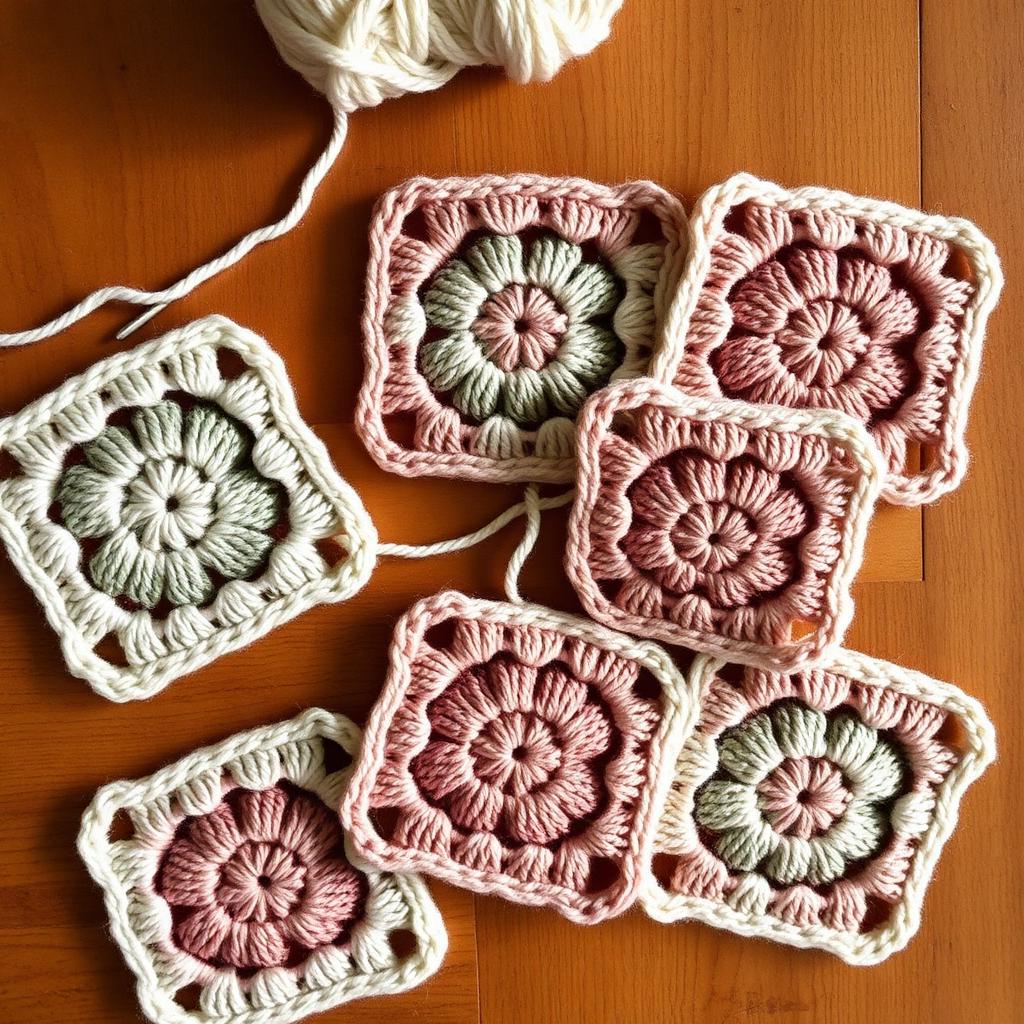
Several finished granny squares in cream, sage and rose being joined with a tapestry needle on a wooden table
Materials
  • Your blocked granny squares (all the same size — block them first)
  • Matching or contrasting yarn for the seam (worsted-weight to match your squares)
  • Tapestry needle for sewn methods
  • Crochet hook one size smaller than the hook used for the squares
  • Stitch markers to line up corners
Crochet abbreviations
  • sl stslip stitch
  • scsingle crochet
  • chchain
  • BLOback loop only

You've stitched 42 granny squares. Now what? The join is where a blanket becomes finished — or where it stays a stack of squares for six months. Five common joining methods, honest pros and cons, and how to pick the right one for your project.

1. Whip stitch (sewn)

The classic. Thread a tapestry needle with matching yarn. Hold two squares with right sides facing (or wrong sides, if you want the seam to be a design element). Insert the needle through the outer loop of each square from back to front, working across the edge. Pull snug every three stitches.

Best for: quick joins, invisible seams (when worked through back loops only), any yarn weight. Downside: less structured than crocheted methods, so heavy blankets can stretch at the seams over time.

2. Slip stitch (crocheted)

Hold squares with wrong sides together. Insert hook through the outer loop of both squares, yarn over, pull through everything. Continue across the edge. Creates a raised ridge on the right side of the fabric.

Best for: quick joins where you want a visible seam as a design line. Fast and structural. Downside: the ridge is visible from the front — either commit to it or pick a different method.

3. Single crochet (crocheted)

Same setup as slip stitch, but work single crochet through both squares instead. Creates a taller, more textured seam.

Best for: heavy-duty blankets that need structural seams. Downside: the seam becomes a design feature whether you want it to or not — plan the color accordingly.

4. Mattress stitch (sewn)

The invisible sewn seam. Lay squares side by side with right sides up. Thread yarn on a tapestry needle. Alternately catch the outer bar of each square's edge stitch, zigzagging across. Pull snug every four stitches — the seam pulls the squares together and vanishes.

Best for: heirloom projects where seam invisibility matters most. Downside: slowest of the five methods.

5. Join-as-you-go (JAYG)

You join squares to the growing blanket on the LAST round of each new square. Instead of chaining across the top corners, you slip-stitch into the corresponding corner of the previously joined square. No sewing at the end.

Best for: large blankets where the thought of joining 60 squares at the end is discouraging. Downside: requires more planning upfront — you commit to a layout before all squares are made.

Quick decision guide

  • Invisible seam, decorative front: mattress stitch
  • Fastest sewn join: whip stitch
  • Fastest crocheted join with a visible design line: slip stitch
  • Heavy blanket that needs structure: single crochet
  • Don't want to face joining a huge pile at the end: JAYG
Project tips from the studio

  • Block every square before joining. Two-hour investment that saves you from re-doing entire seams later.
  • Match the join yarn weight to the squares. A lighter join yarn puckers; a heavier one bulks the seam.
  • Lay all your squares out on the floor and photograph the arrangement before you start joining. You WILL forget the layout otherwise.

Troubleshooting

My seams are puckered.
Your tension is tighter on the seam than on the squares. Go up half a hook size for the join, or work with looser yarn tension deliberately.
The corners don't line up.
Use a stitch marker to pin the four corners together before joining. Skipping this step is why most first blankets have wonky corners.
I can see the seam badly.
Either switch to a contrast color and make it a design feature, or use whip stitch through back loops only — it disappears into the fabric.

Frequently asked questions

What is the strongest way to join granny squares?+

Single crochet through both loops of both squares. It creates a firm, structured seam that holds up to heavy use and washing. The trade-off is a visible ridge on the right side.

What is the easiest way to join granny squares for beginners?+

Whip stitch with a tapestry needle. It's forgiving of uneven stitch counts, easy to un-do if you go wrong, and looks tidy when worked through the back loops only.

Do I need to block granny squares before joining?+

Yes, if you want the finished blanket to lie flat. Even factory-quality squares vary slightly in size; blocking makes them identical and drastically improves the final look.

Should I use the same yarn to join as the squares?+

For invisible seams, yes — matching yarn in the same weight. For decorative seams, a contrast color in the same weight looks intentional. Never join with thinner yarn; the seam will pucker.

What is join-as-you-go?+

A technique where you join each new square to the previously completed square on the last round of stitching, so no sewing is needed at the end. Great for large blankets, but requires deciding on your layout early.

Sources & content review
This article was written by our editorial team and reviewed against our editorial policy. All techniques are tested in our studio, and craft-terminology definitions cross-checked against the Craft Yarn Council standard yarn weight system and CGOA glossary.