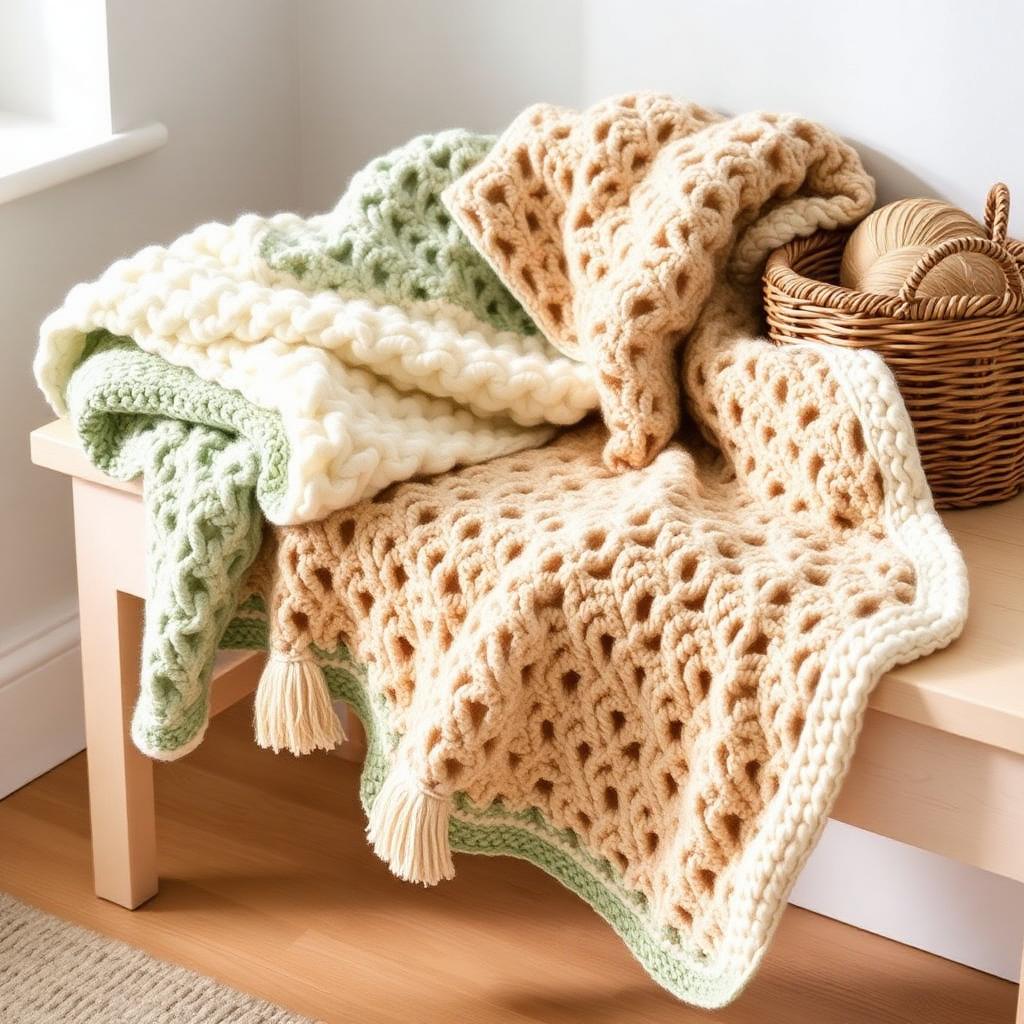
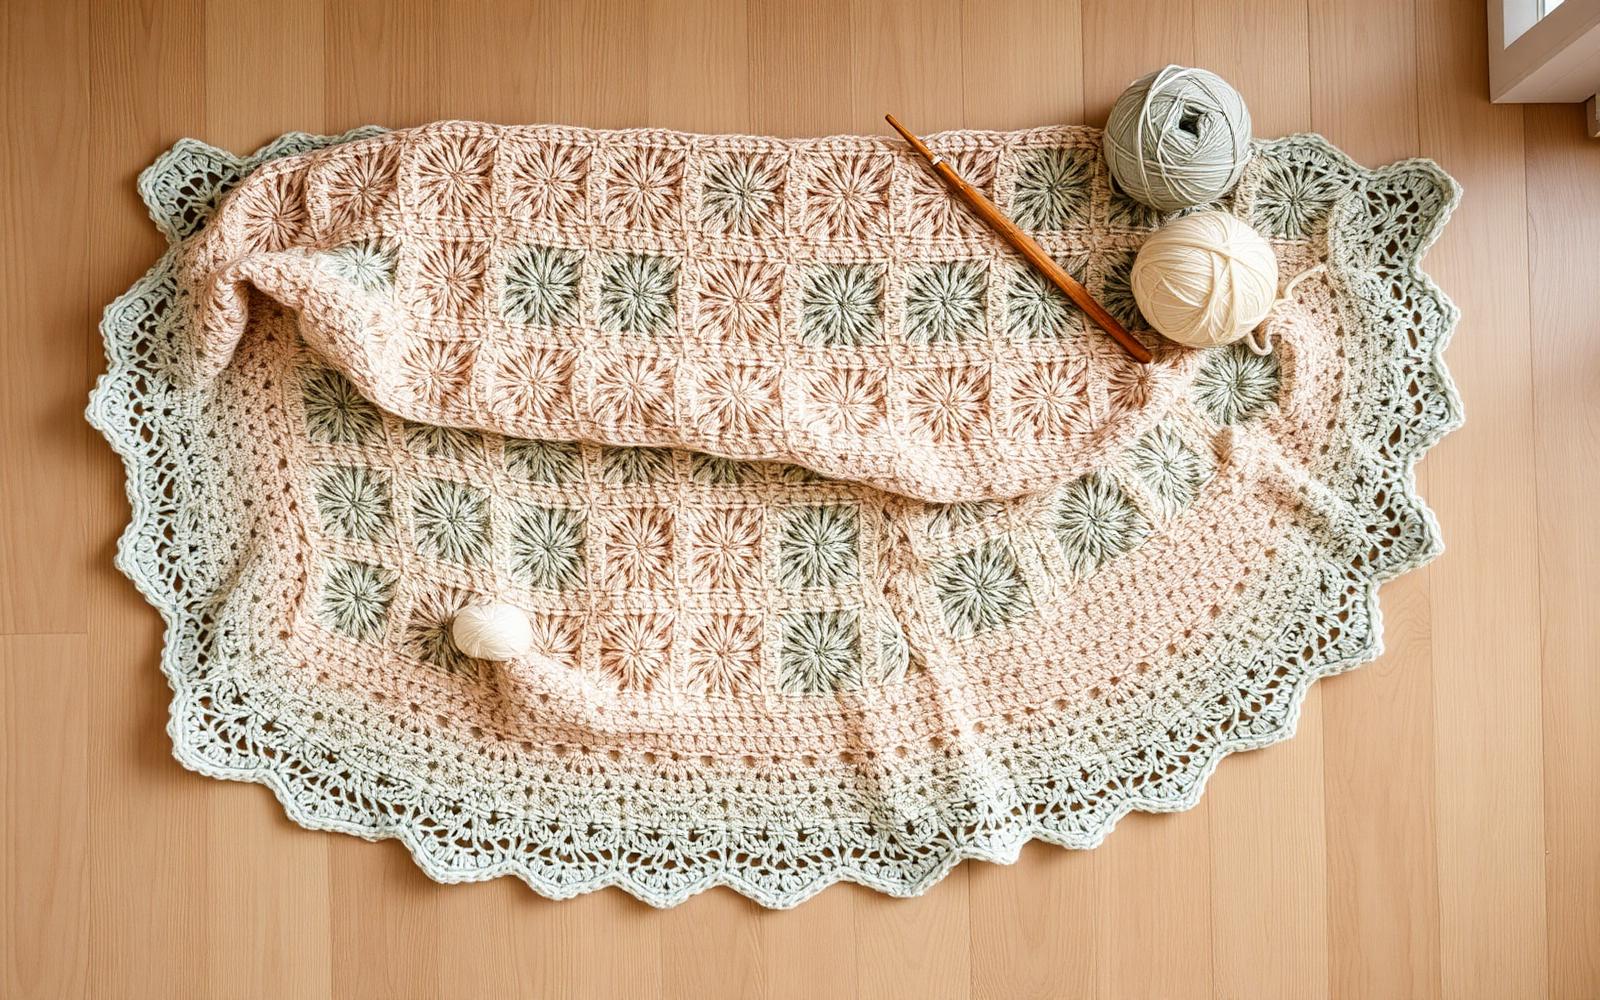
Corner-to-corner (C2C) is the fastest way to build a chunky throw. You start with one small tile in a corner, add one tile per diagonal row until it's the size you want, then decrease back down to the opposite corner. It looks like colorwork magic in finished photos — the reality is 'chain 6, double crochet three times, repeat.'
This pattern makes a 40 × 50 inch throw in super-bulky yarn on a big hook, which works up shockingly fast. Most stitchers finish in two long weekend sessions.
About the tile
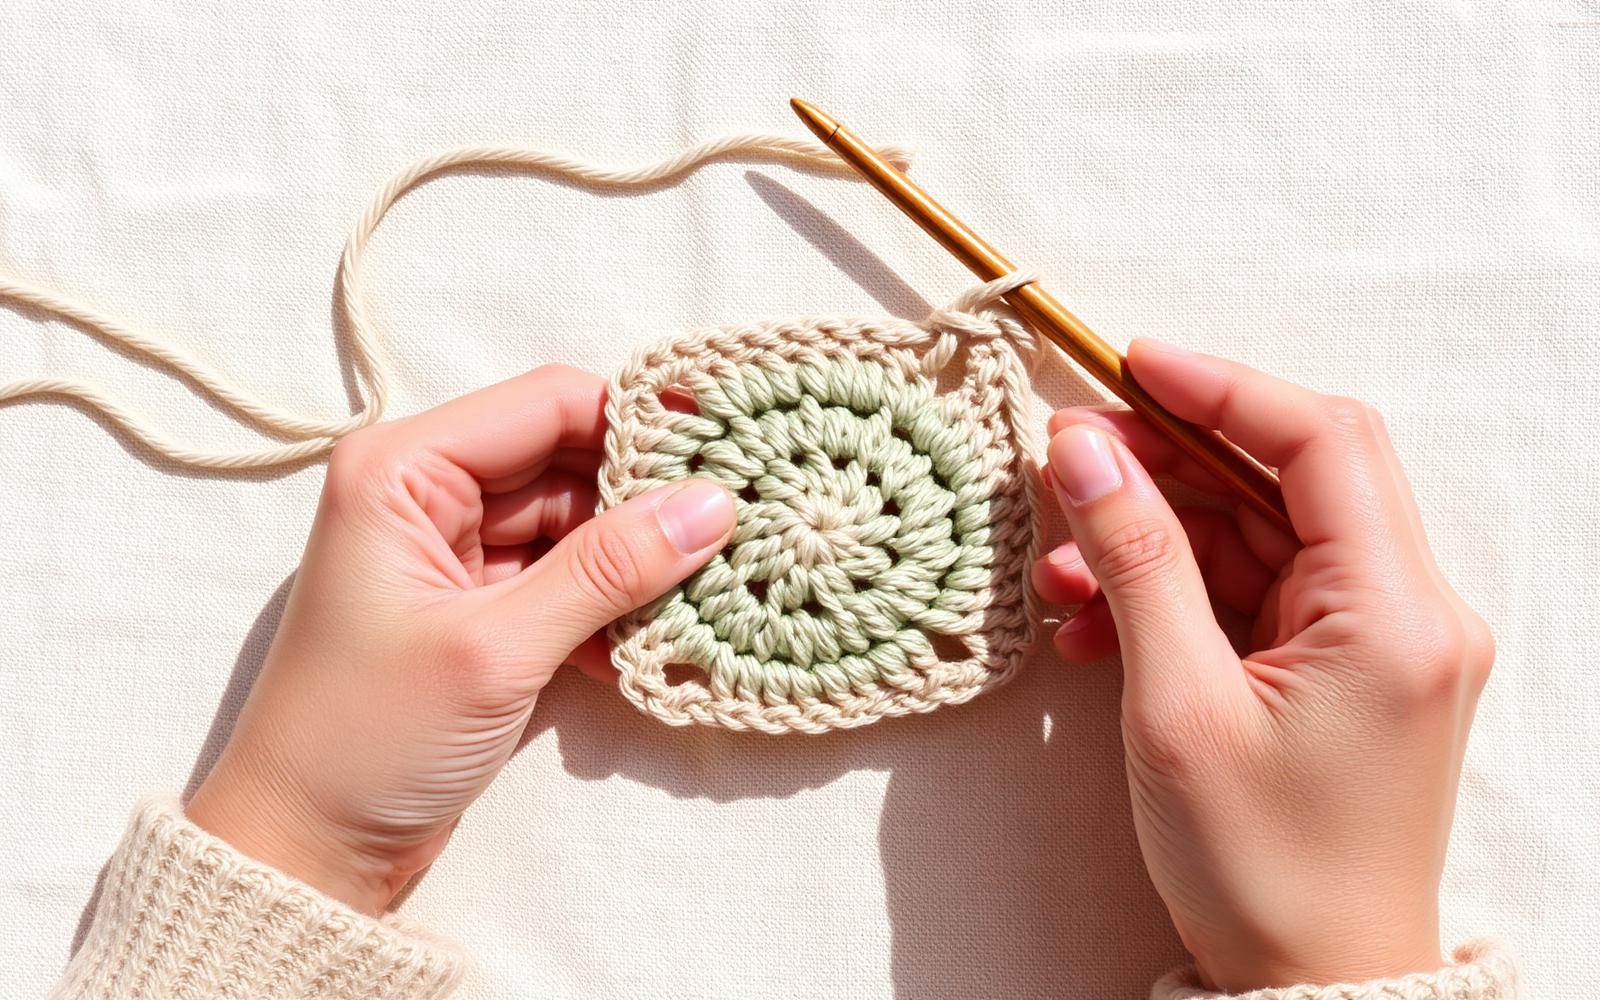
One C2C tile = ch 3, then 3 dc worked into a chain-3 space (or into your starting chain on row 1). Every row after the first is 'ch 6, turn, 3 dc in the 4th chain from hook' for the new corner tile, then join into previous tiles with 'sl st, ch 3, 3 dc' for each existing tile.
Chain 6. Double crochet in the 4th chain from the hook, then in each of the next 2 chains (3 dc total). Turn. That's your first tile.
At the start of every increase row: chain 6, turn. Work 3 dc in the 4th chain from hook (this is the new corner tile). Then slip-stitch into the ch-3 space of the previous row's next tile, chain 3, and work 3 dc in the same space — that joins the new row into the existing fabric.
Repeat 'sl st, ch 3, 3 dc in next ch-3 sp' across the row until every previous tile has a new tile above it. Turn.
Continue until you have 40 tiles across (the widest point of the diamond).
At the start of every decrease row: slip-stitch across the top of the first tile to reach the ch-3 space, chain 3, and work 2 dc in that space (that's your new first tile of the row). Continue working 'sl st, ch 3, 3 dc' across, but stop one tile short of the end. Turn.
You'll finish at the corner opposite your starting corner. Fasten off, weave in ends.
Change color at the end of the last dc of a row — yarn over with the new color for the final pull-through. Blocks of color follow the diagonal; solid blocks of tile-count (e.g. 'work 8 rows in sage, 8 in cream') give a soft striped effect.
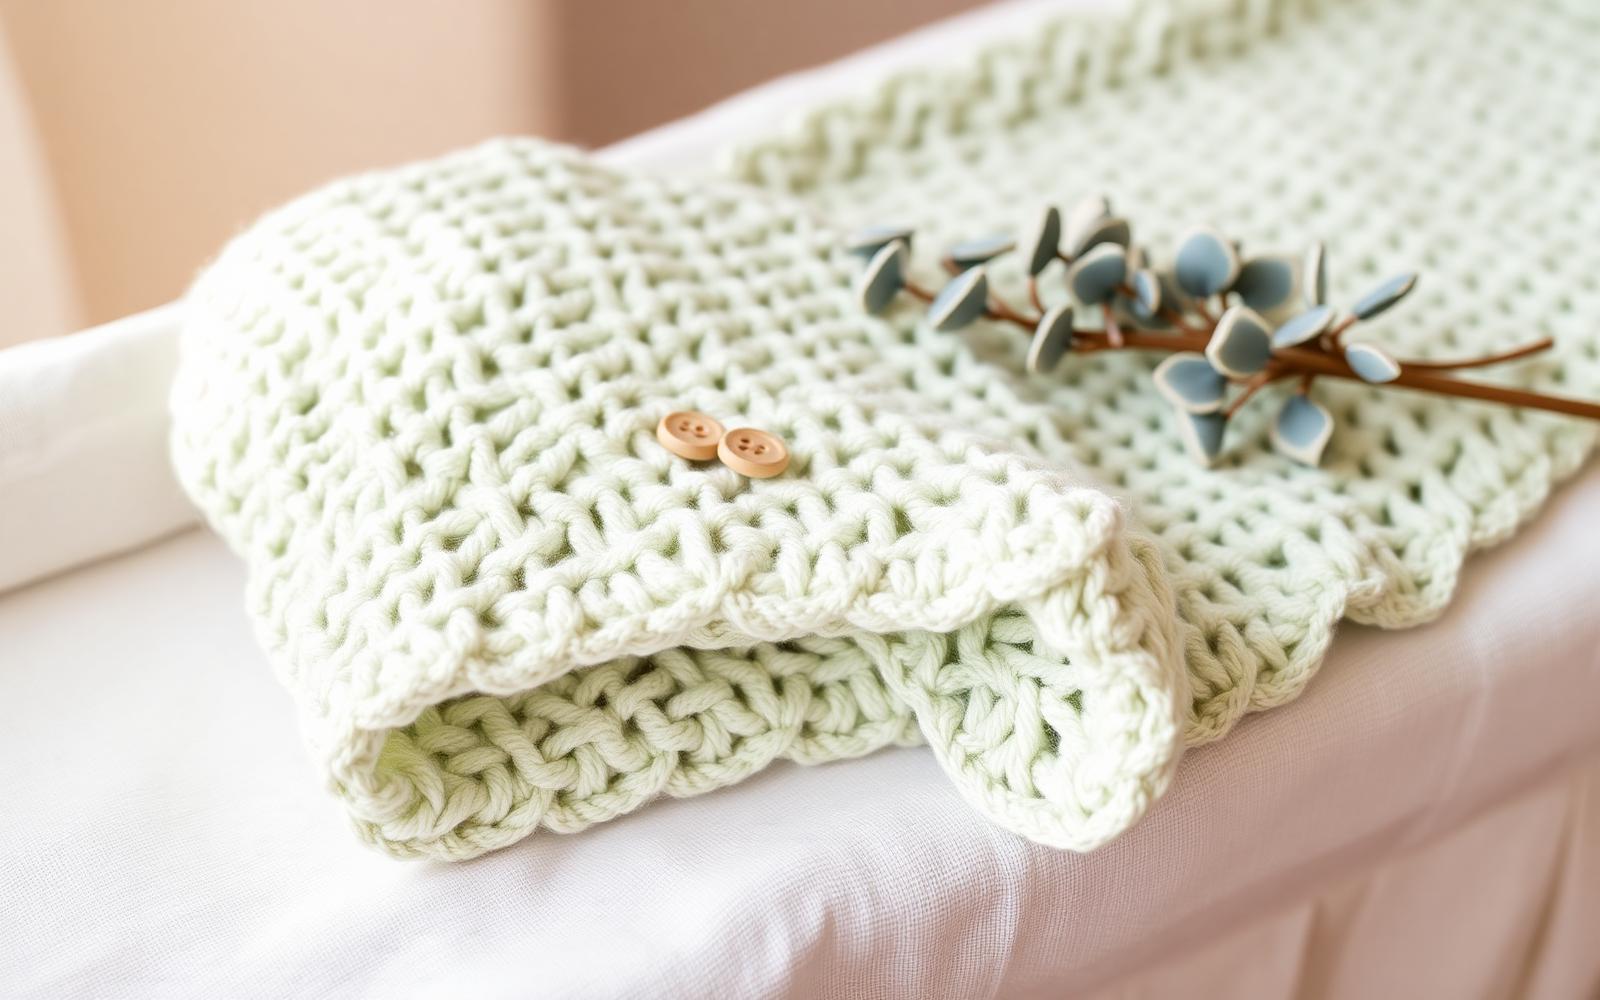
Attach yarn to any corner. Single crochet evenly around the entire blanket, working 3 sc into each of the four corners. Join with a slip stitch, fasten off. This one round is the difference between 'homemade' and 'finished.'