Seasonal CraftsBeginner
Crochet Fall Pumpkins: A Free Seasonal Pattern
A quick, cozy crochet pumpkin pattern in three sizes — perfect for autumn shelves, table centerpieces and last-minute handmade gifts.
A quick, cozy crochet pumpkin pattern in three sizes — perfect for autumn shelves, table centerpieces and last-minute handmade gifts.
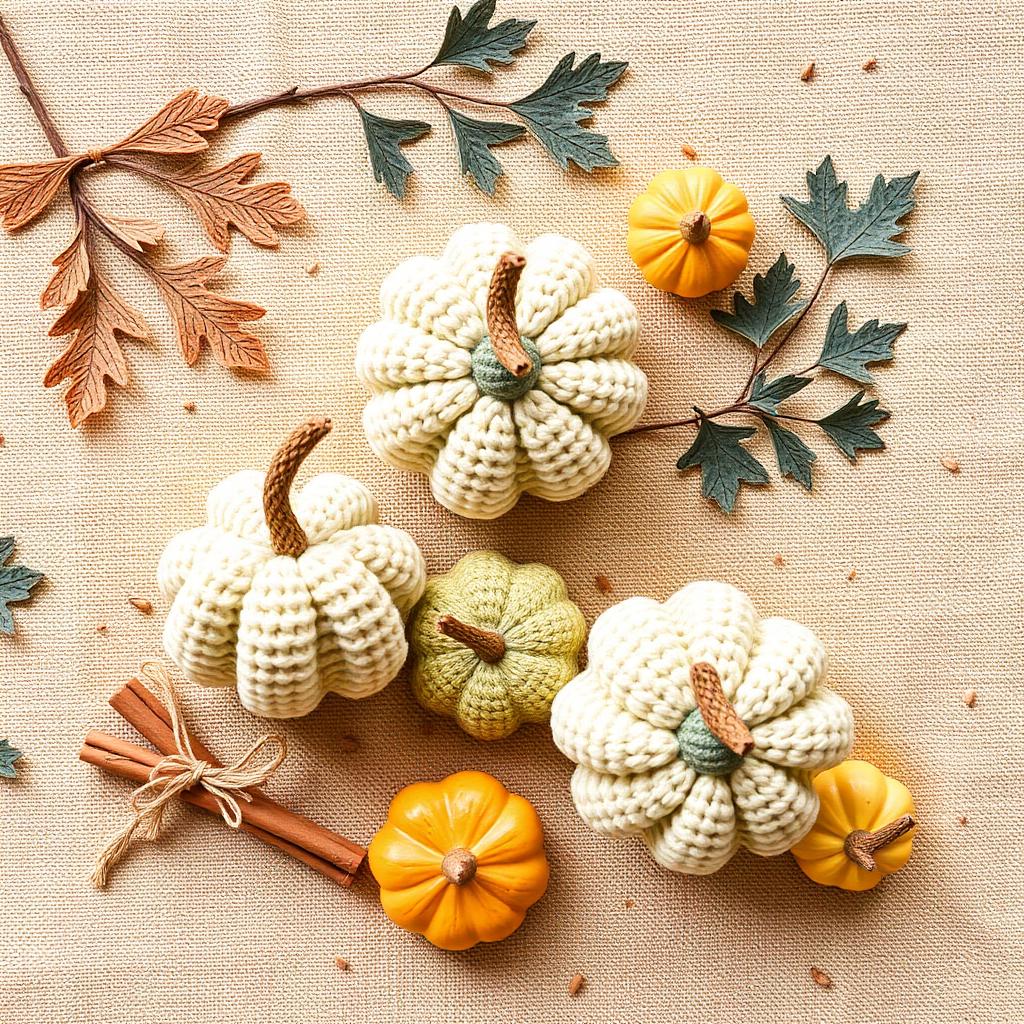
Crocheted pumpkins are the perfect seasonal project: quick, forgiving, endlessly variable in size and color, and they store flat when the season is over. I make a small batch every September to scatter across the mantel and hand out as hostess gifts, and I've never met anyone who didn't want one.
This pattern gives you three sizes — small (about 3 inches), medium (about 5 inches), and large (about 7 inches) — with the same construction. Learn one, and you can make every size. A medium pumpkin takes about 90 minutes from start to stem.
You'll crochet a flat rectangle, seam the short ends together to form a tube, gather the top and bottom closed with the yarn tails, stuff, wrap yarn around the outside to form the ridges, and add a stem. It's simpler than it sounds — the ridges are just yarn wrapped tightly around the ball at even intervals.
Chain 26. Row 1: hdc in the third chain from the hook and every chain across, turn (24 hdc).
Row 2: ch 2 (does not count as a stitch), hdc in each stitch across, turn (24 hdc).
Rows 3–20: repeat row 2. You should have a rectangle roughly 6 inches wide and 5–6 inches tall.
Fasten off with a long tail — at least 24 inches — for seaming and closing the top.
Small: chain 18. Work 14 rows total. Large: chain 34. Work 26 rows total. All other instructions stay the same.
With right sides together, fold the rectangle so the short ends meet, forming a tube. Whip-stitch the seam using the long tail. Turn right-side out.
Thread a tapestry needle with the seam tail. Run a running stitch around one open end (front loops only), pull tight to gather closed, and secure. This is the bottom of your pumpkin.
Stuff firmly with fiberfill — more than you think you need. Repeat the running stitch around the top opening, pull tight, and secure but don't cut the yarn yet.
Thread a fresh 3-foot length of yarn onto a tapestry needle. Push the needle down through the center top of the pumpkin, out the center bottom, then bring it up the outside and back through the center top. Pull firmly — this creates the first ridge.
Continue wrapping the outside of the pumpkin, spacing the wraps evenly. For a medium pumpkin, 6–8 evenly-spaced wraps look best. Between wraps, always pass the needle through the top and bottom center holes to keep the pumpkin's shape. Knot off firmly on top when you're done and weave the tail in.
Trim a small twig or a piece of cinnamon stick to about 1.5 inches. Push it into the gathered top opening, and use a scrap of matching yarn to whip-stitch around the base of the stem, anchoring it firmly to the pumpkin top.
Optional: cut a small felt or wool leaf shape, and stitch it to the base of the stem for extra detail. A short length of jute twine wrapped once around the stem base and knotted also looks lovely.
A small pumpkin: about 45 minutes. Medium: 90 minutes. Large: 2–2.5 hours. Most of that time is the flat rectangle; assembly and ridges are only about 15 minutes.
100% cotton or 100% wool worsted weight. Both hold the ridges beautifully and look natural. Avoid acrylic if you can — it doesn't ridge as crisply and has a shine that reads plasticky under warm autumn light.
Yes — they're one of the fastest handmade gifts you can make, and they store flat when not on display. A trio in different sizes tied with twine is a beautiful hostess gift for a fall dinner party.
Squeeze most of the stuffing out gently, fold flat, and store in a breathable cloth bag with a moth-repellent sachet if using wool. Re-stuff when you bring them out next year — they'll look brand new.
Yes — this is a genuine beginner project. The only stitch is hdc, and the assembly is more sewing than crocheting. It's a perfect first amigurumi-adjacent project.
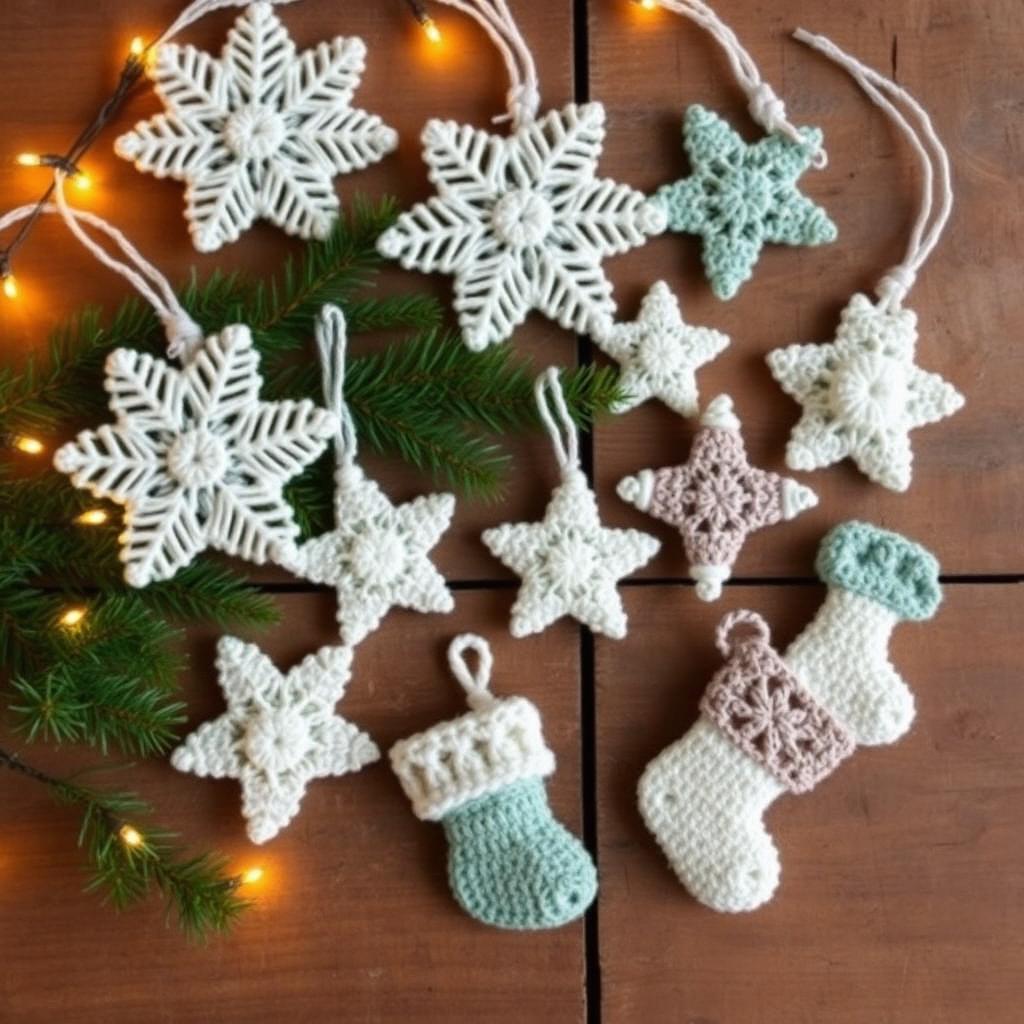
Three small ornament patterns — a lace snowflake, a puff star, and a mini stocking — that work up in under an hour each and stiffen beautifully for the tree.
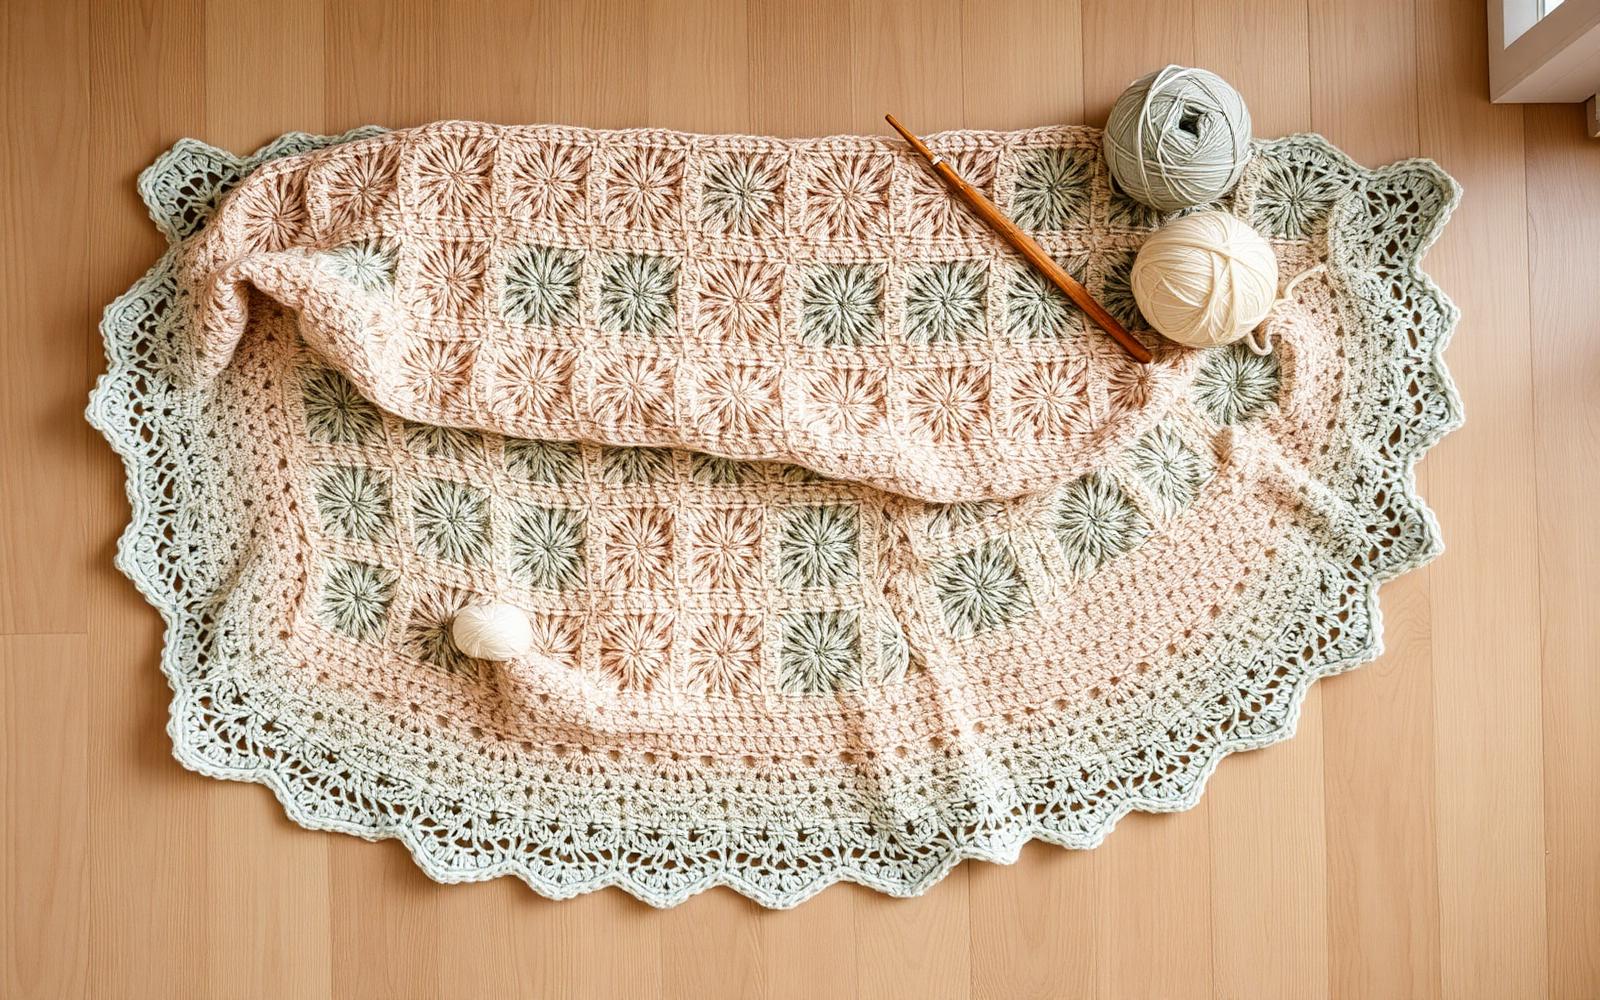
A relaxed, forgiving granny-square blanket you can start today. Full pattern, materials, joining method, and honest tips from stitching this design a dozen times.
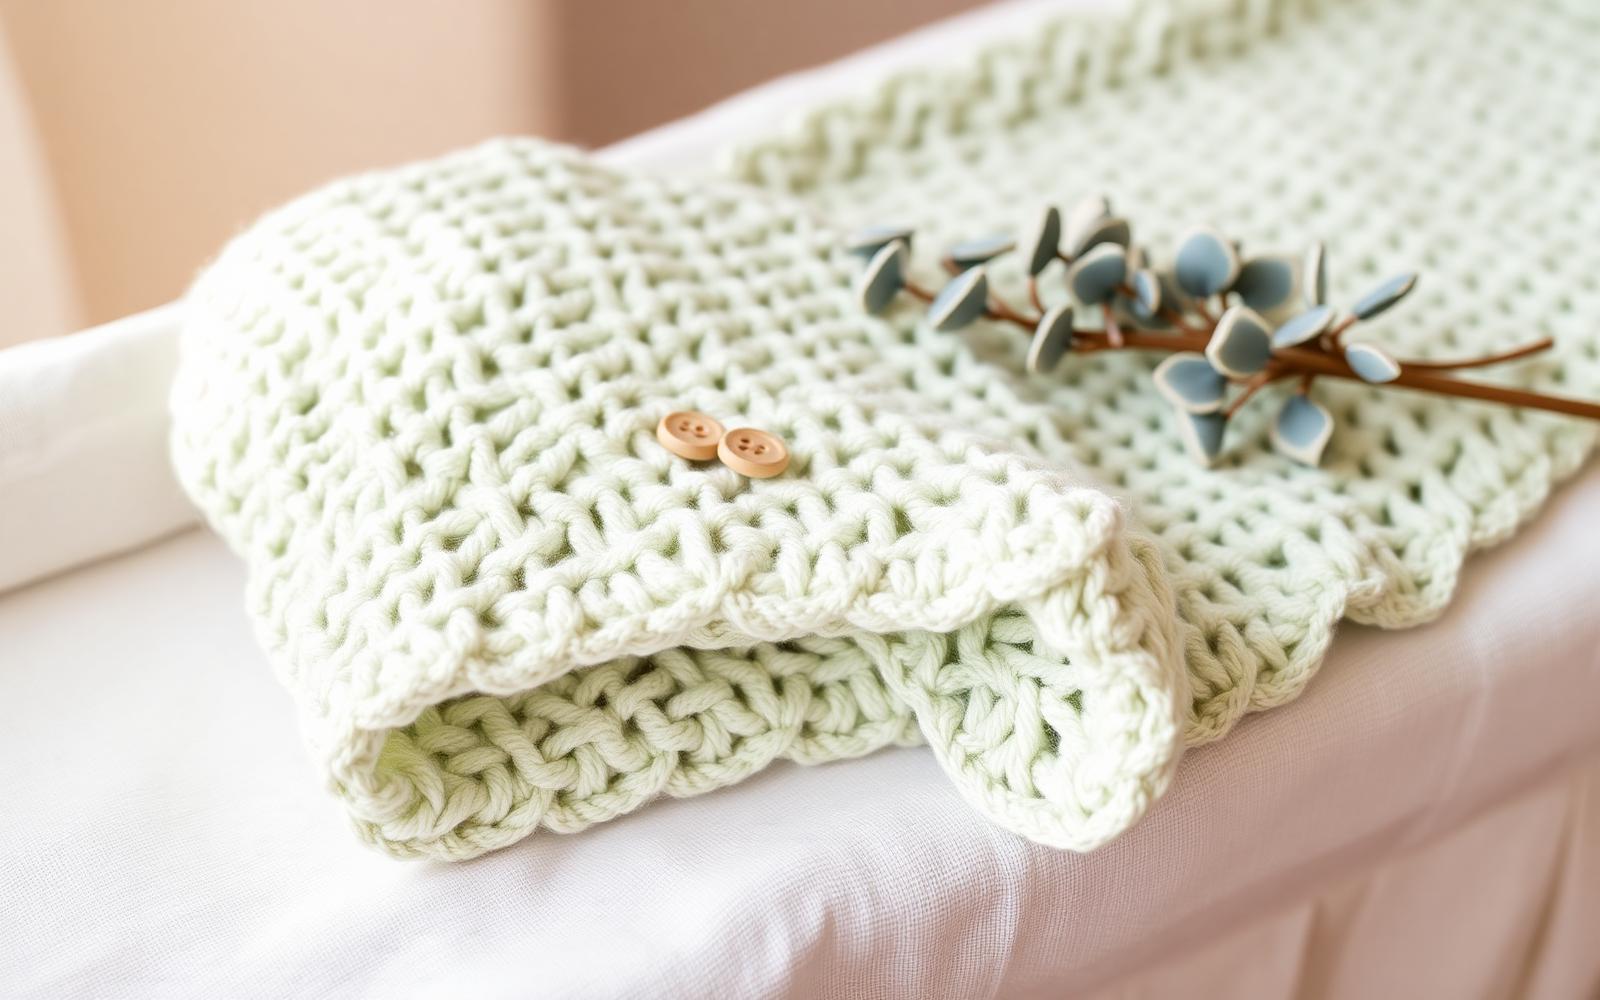
A soft, drapey shell-stitch baby blanket that works up in a weekend. Full written pattern, size chart, yarn recommendations, and the shell-stitch fix everyone gets wrong on Row 2.